Documentation
7314 Electric Motor Thermal Test (Core Loss Hot-Spot Acceptance Test)
MS-7314: Machine Acceptance Testing iPadOS® version
- Version: 1.14 (b.27)
- Author: D. Bukowitz
- Created: 03 Jun, 2022
- Update: 16 Nov, 2022
If you have any questions that are beyond the scope of this document, Please feel free to email via info@sens-os.com
Description
The Electric Motor Core Loss Test module automatically detects the hot spots and provides a Pass/Fail result based on Industry Standard, using a Thermal Image Camera connected to the iOS®/iPadOS® device.
Compatibility
This module is compatible with the following thermal image cameras:
- FLIR ONE® Edge (Wireless Streaming)
- FLIR Exx Series Cameras (Wireless Streaming)
- FLIR ONE® Pro (Lightning/USB Connected)
- FLIR ONE® Pro LT (Lightning/USB Connected)
- FLIR ONE® Gen 3 (Lightning Connected)
Main Menu
- Tap on the Sensor name button to open the list of available sensors, and select the thermal image camera type from the list
- Scroll the list of functionalities and select Electric Motor Thermal Test.


Note: The user can change the order of the functionalities in the list by dragging it from the right button on each cell
Core Loss Hot Spot Test
- After connecting/pairing the thermal image camera tap on the Connect button in the top menu bar. To change the temperature units go to the app's: Configuration
- The Thermal Image will start streaming and will appear in the screen. The Start button '▶︎' in the top bar menu will be enabled, and the test will not start until this button is pressed.
- Place the camera inside the core and press the Start button. Move the camera to scan the whole internal surface of the core, the system will display "PASSED" if it does not detect a faulty hot-spot. Press the Stop button '◼︎' to end the test at any time.
- If the system detects a faulty hot-spot the test will end and it will show the text "FAILED". Press the Stop button '◼︎' to end the test at any time.
- After the Stop button is pressed, the report buton will be enabled. Press the report button to generate a pdf report. See more details in: Generating a pdf Report

Note: In the case of a FLIR Series Exx camera first connect to the camera's Wi-Fi in the iPad settings. For FLIR ONE Edge and FLIR ONE Pro connection there is no need to do any previous setup.


Configuration
- From the Main menu, click the top left menu button to open the left drawer with more options. Select 'Configuration' from the left menu
- To change rhe temperaure Units use the selector shown in the screenshot below to toggle between Celsius, Fahrenheit or Kelvin.


Report
- The report view contains several options in the top bar menu: 1:Send by Email, 2:Save pdf locally, 3:Upload Report to the Cloud bucket, 4:Markup and 5:Report Configuration
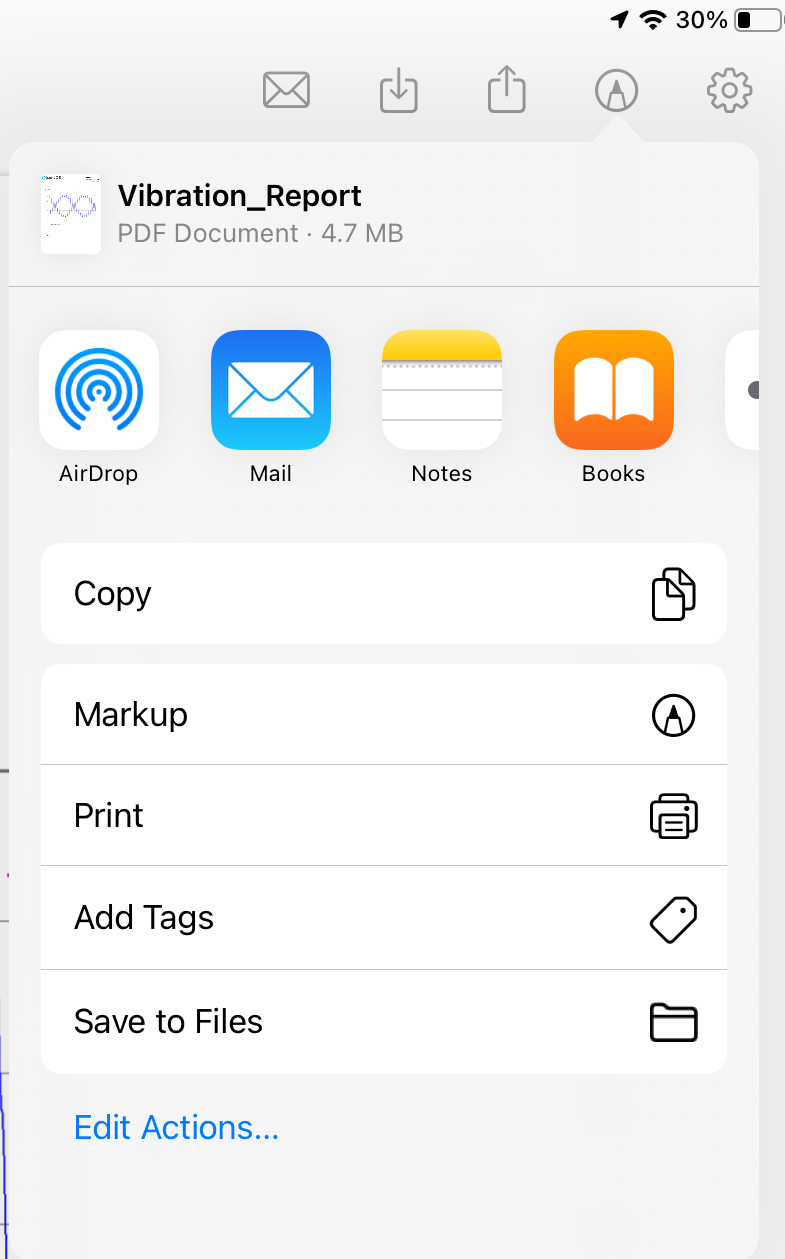
- The markup tool allows the user to copy the report to the clipboard, send it by Airdrop or any other messaging app, email it, print it or saved it to Files. The markup tool will open the standard tool to paint on the pdf report.
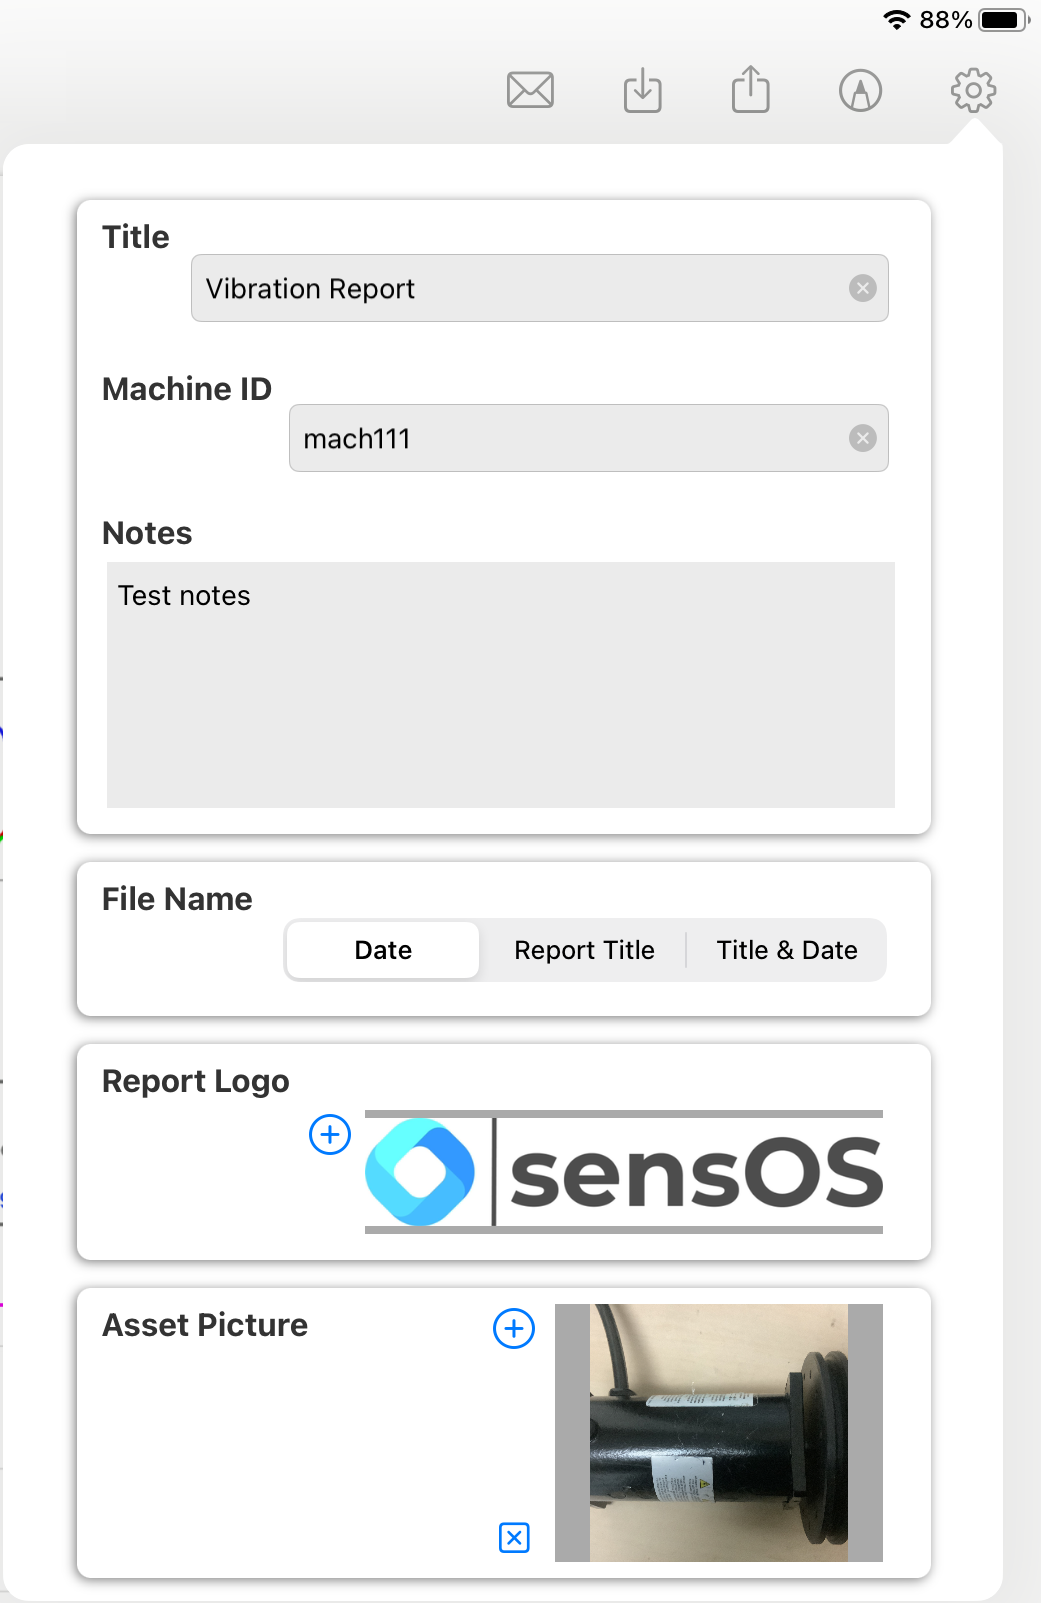
- The Report Configuration pop-up allows the user to enter the Report Title, Machine ID and Notes to be added to the report. Here the user can also select a logo for the report and include a picture of the asset that will be added in a new page in the report. The report file name be default is the actual dat and time, but the user can change it to the title name of the report or to both, the title name and date.

Changelog
See what's new added, changed, fixed, improved or updated in the latest versions.
Version 1.14 b.27 (16 Nov, 2022)
- Added Added compatibility with the FLIR One® EDGE Wireless Thermal Image Camera
Version 1.05 b.15 (03 Jun, 2022)
Initial Release