Documentation
7314 Electric Motor Vibration Test (powered by: SpringPoint)
MS-7314: Machine Acceptance Testing iPadOS® version
- Version: 1.21 (b.35)
- Author: D. Bukowitz
- Created: 06 Oct, 2021
- Update: 10 Oct, 2023
If you have any questions that are beyond the scope of this document, Please feel free to email via info@sens-os.com
Description
The Electric Motor Vibration Test was developed using the vibration requirements and limits set by EASA and NEMA Standards1. The App collects data from a single-axis or triaxial wireless sensors mounted in the motor and perform an evaluation of the machine condition based on the machine RPM; the app will decide if a velocity or a displacement reading is needed to assess the machine condition. The motor will pass the aceptance test if all measurments are in the green scale. The app is integrated with SpringPoint Suite solution, the user can select the Job number from the SPS platform and upload the generated reports to it.
Compatibility
This module is compatible with the following wireless sensors:
- SensorWorks BluVib P-V-T (1-Axis)
- SensorWorks BluVib M-V-T-3 (3-Axis)
Login
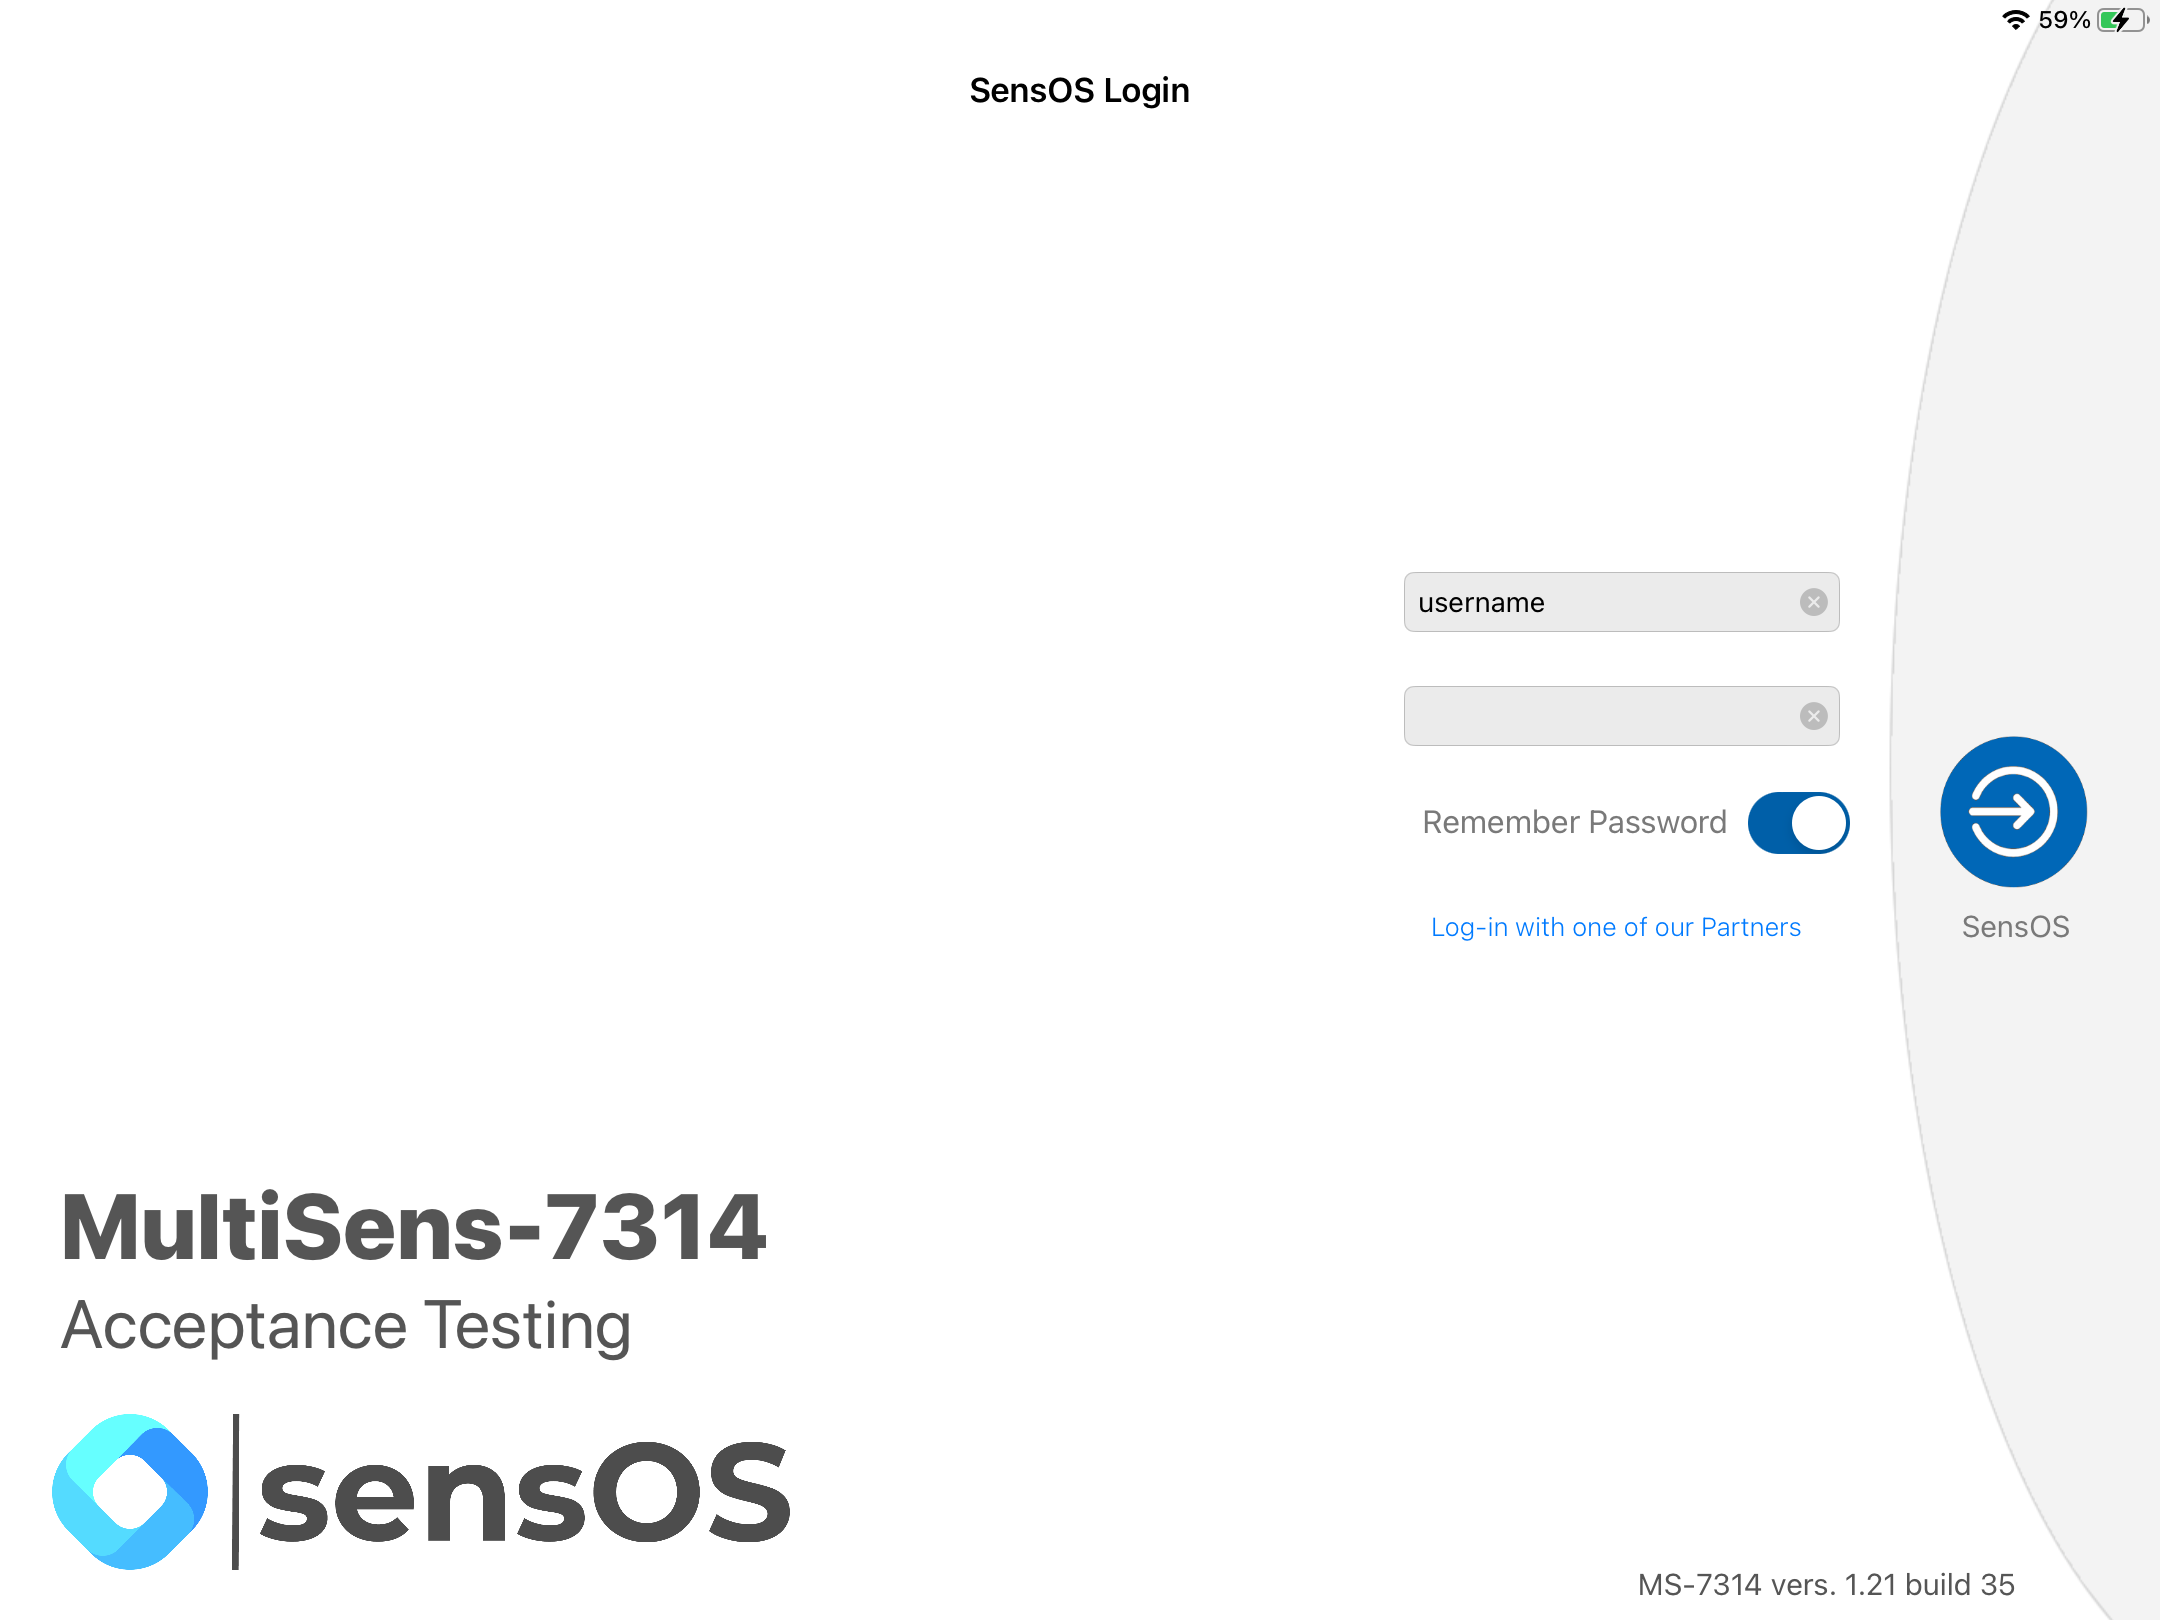
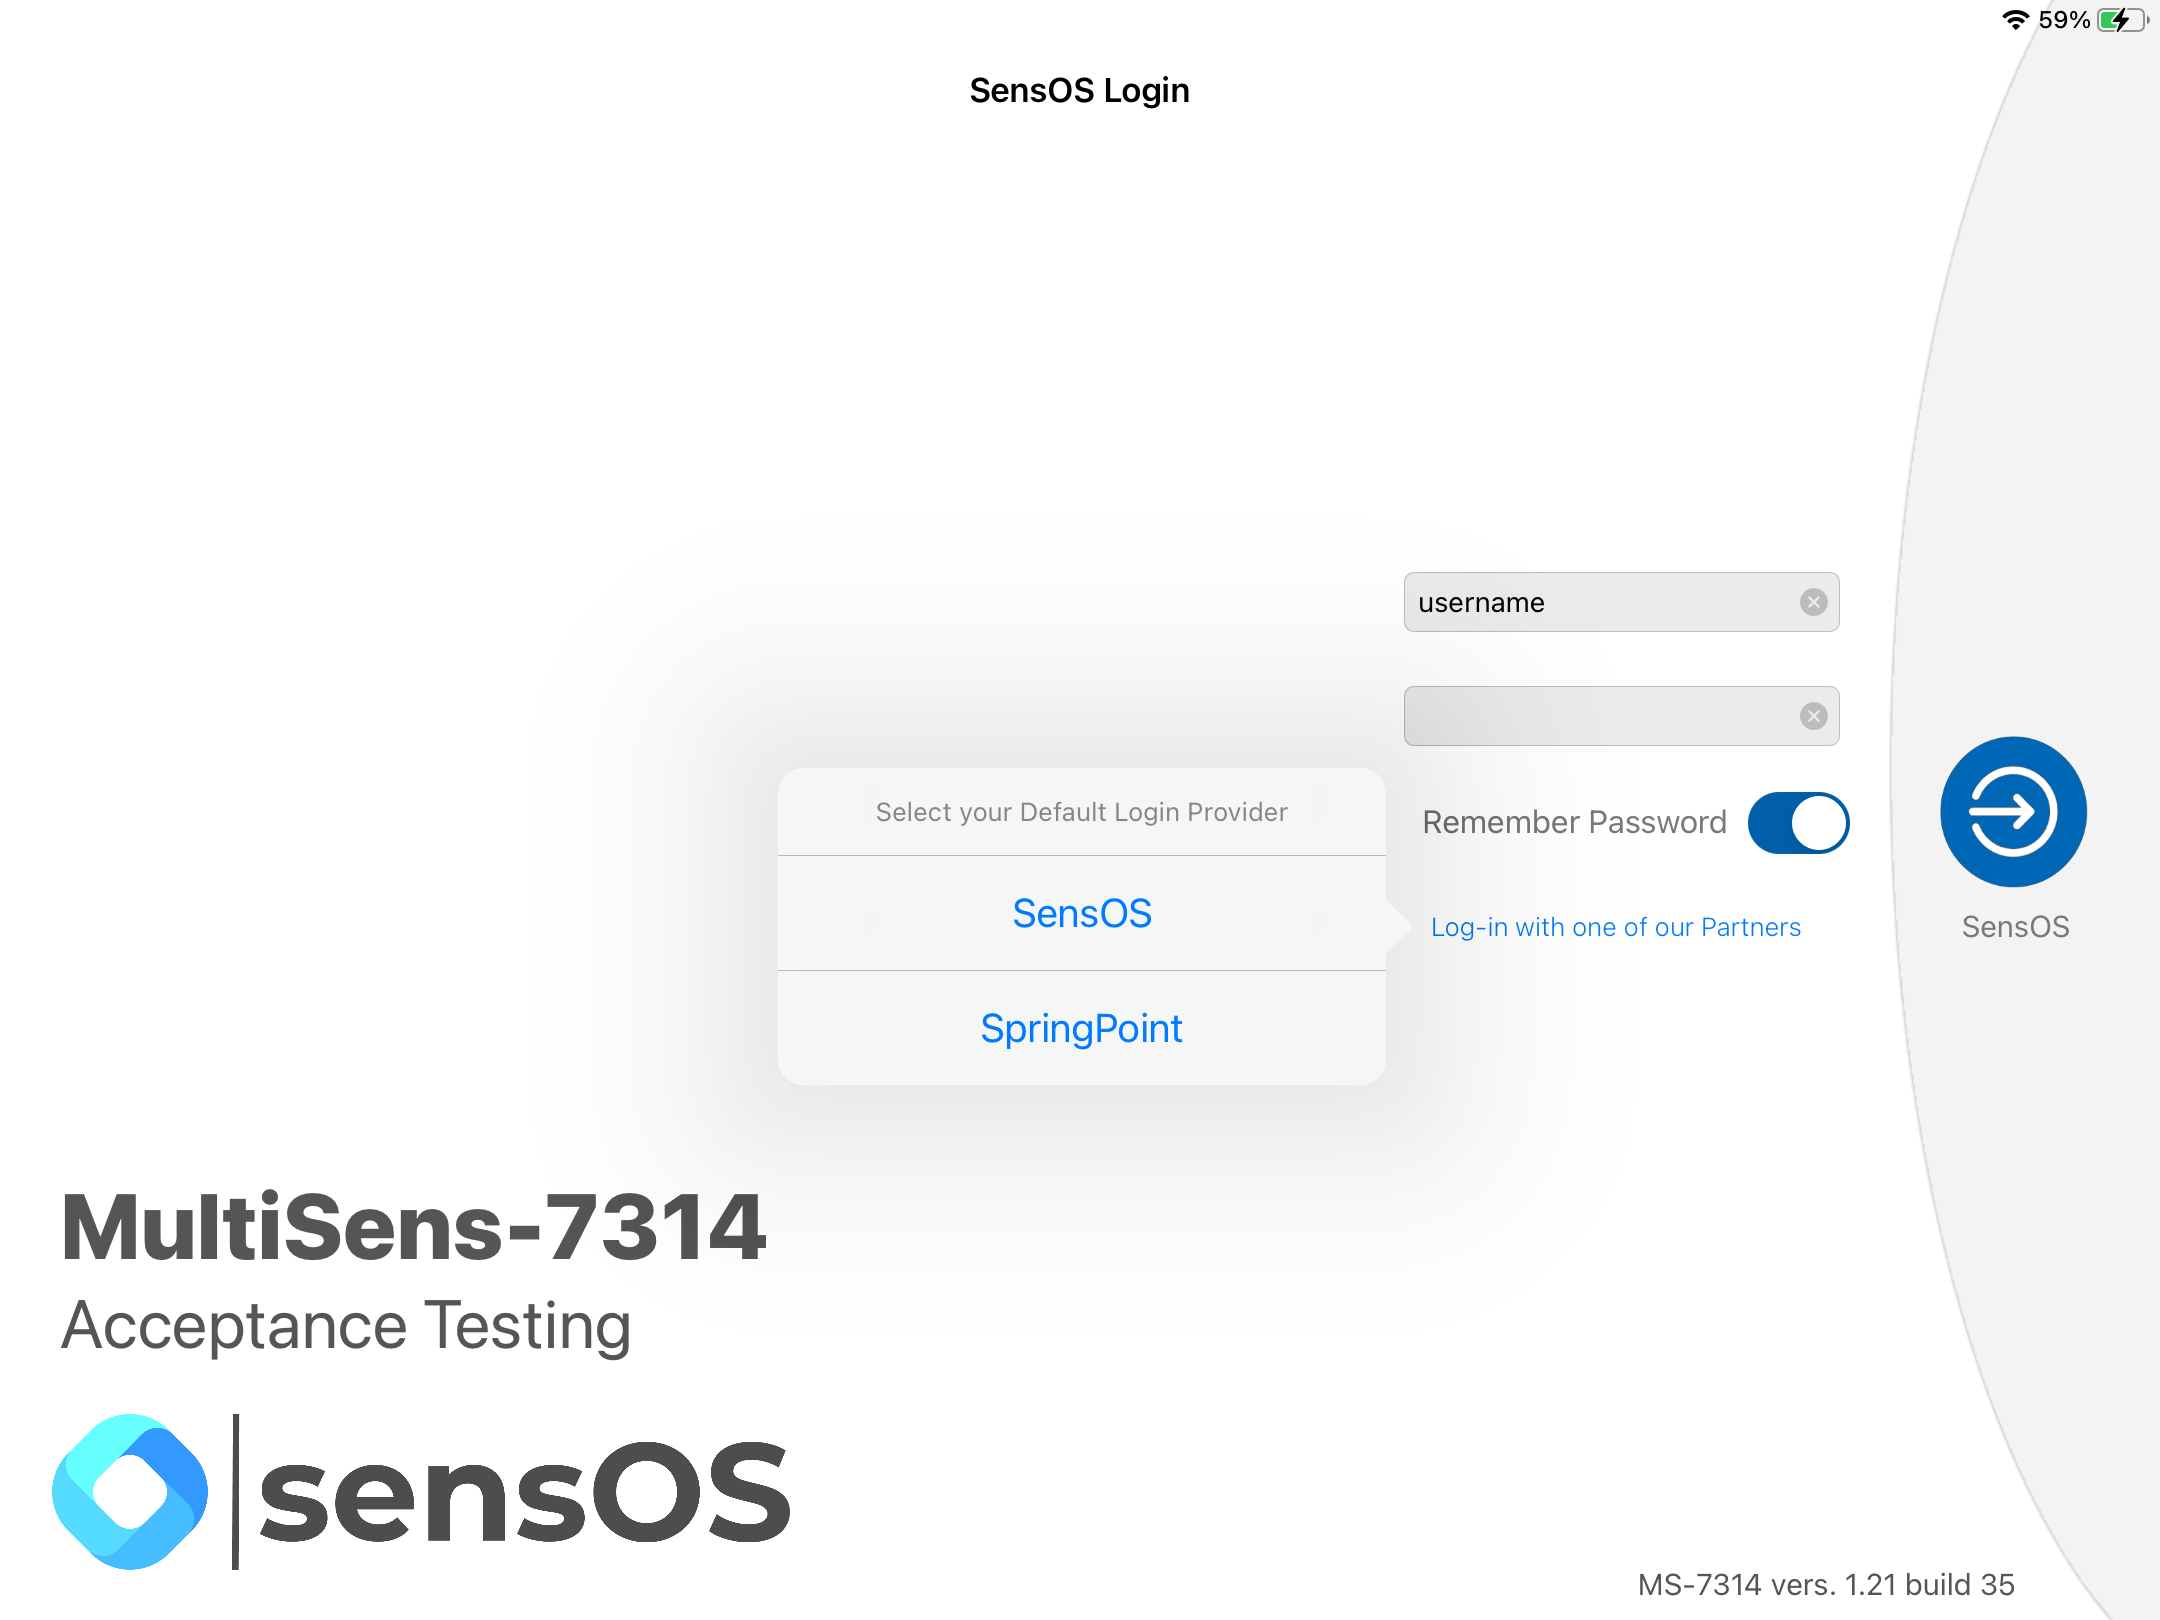
- Open the MS-7314 app and select the option "Log-in with one of our Partners" below the credential fields.
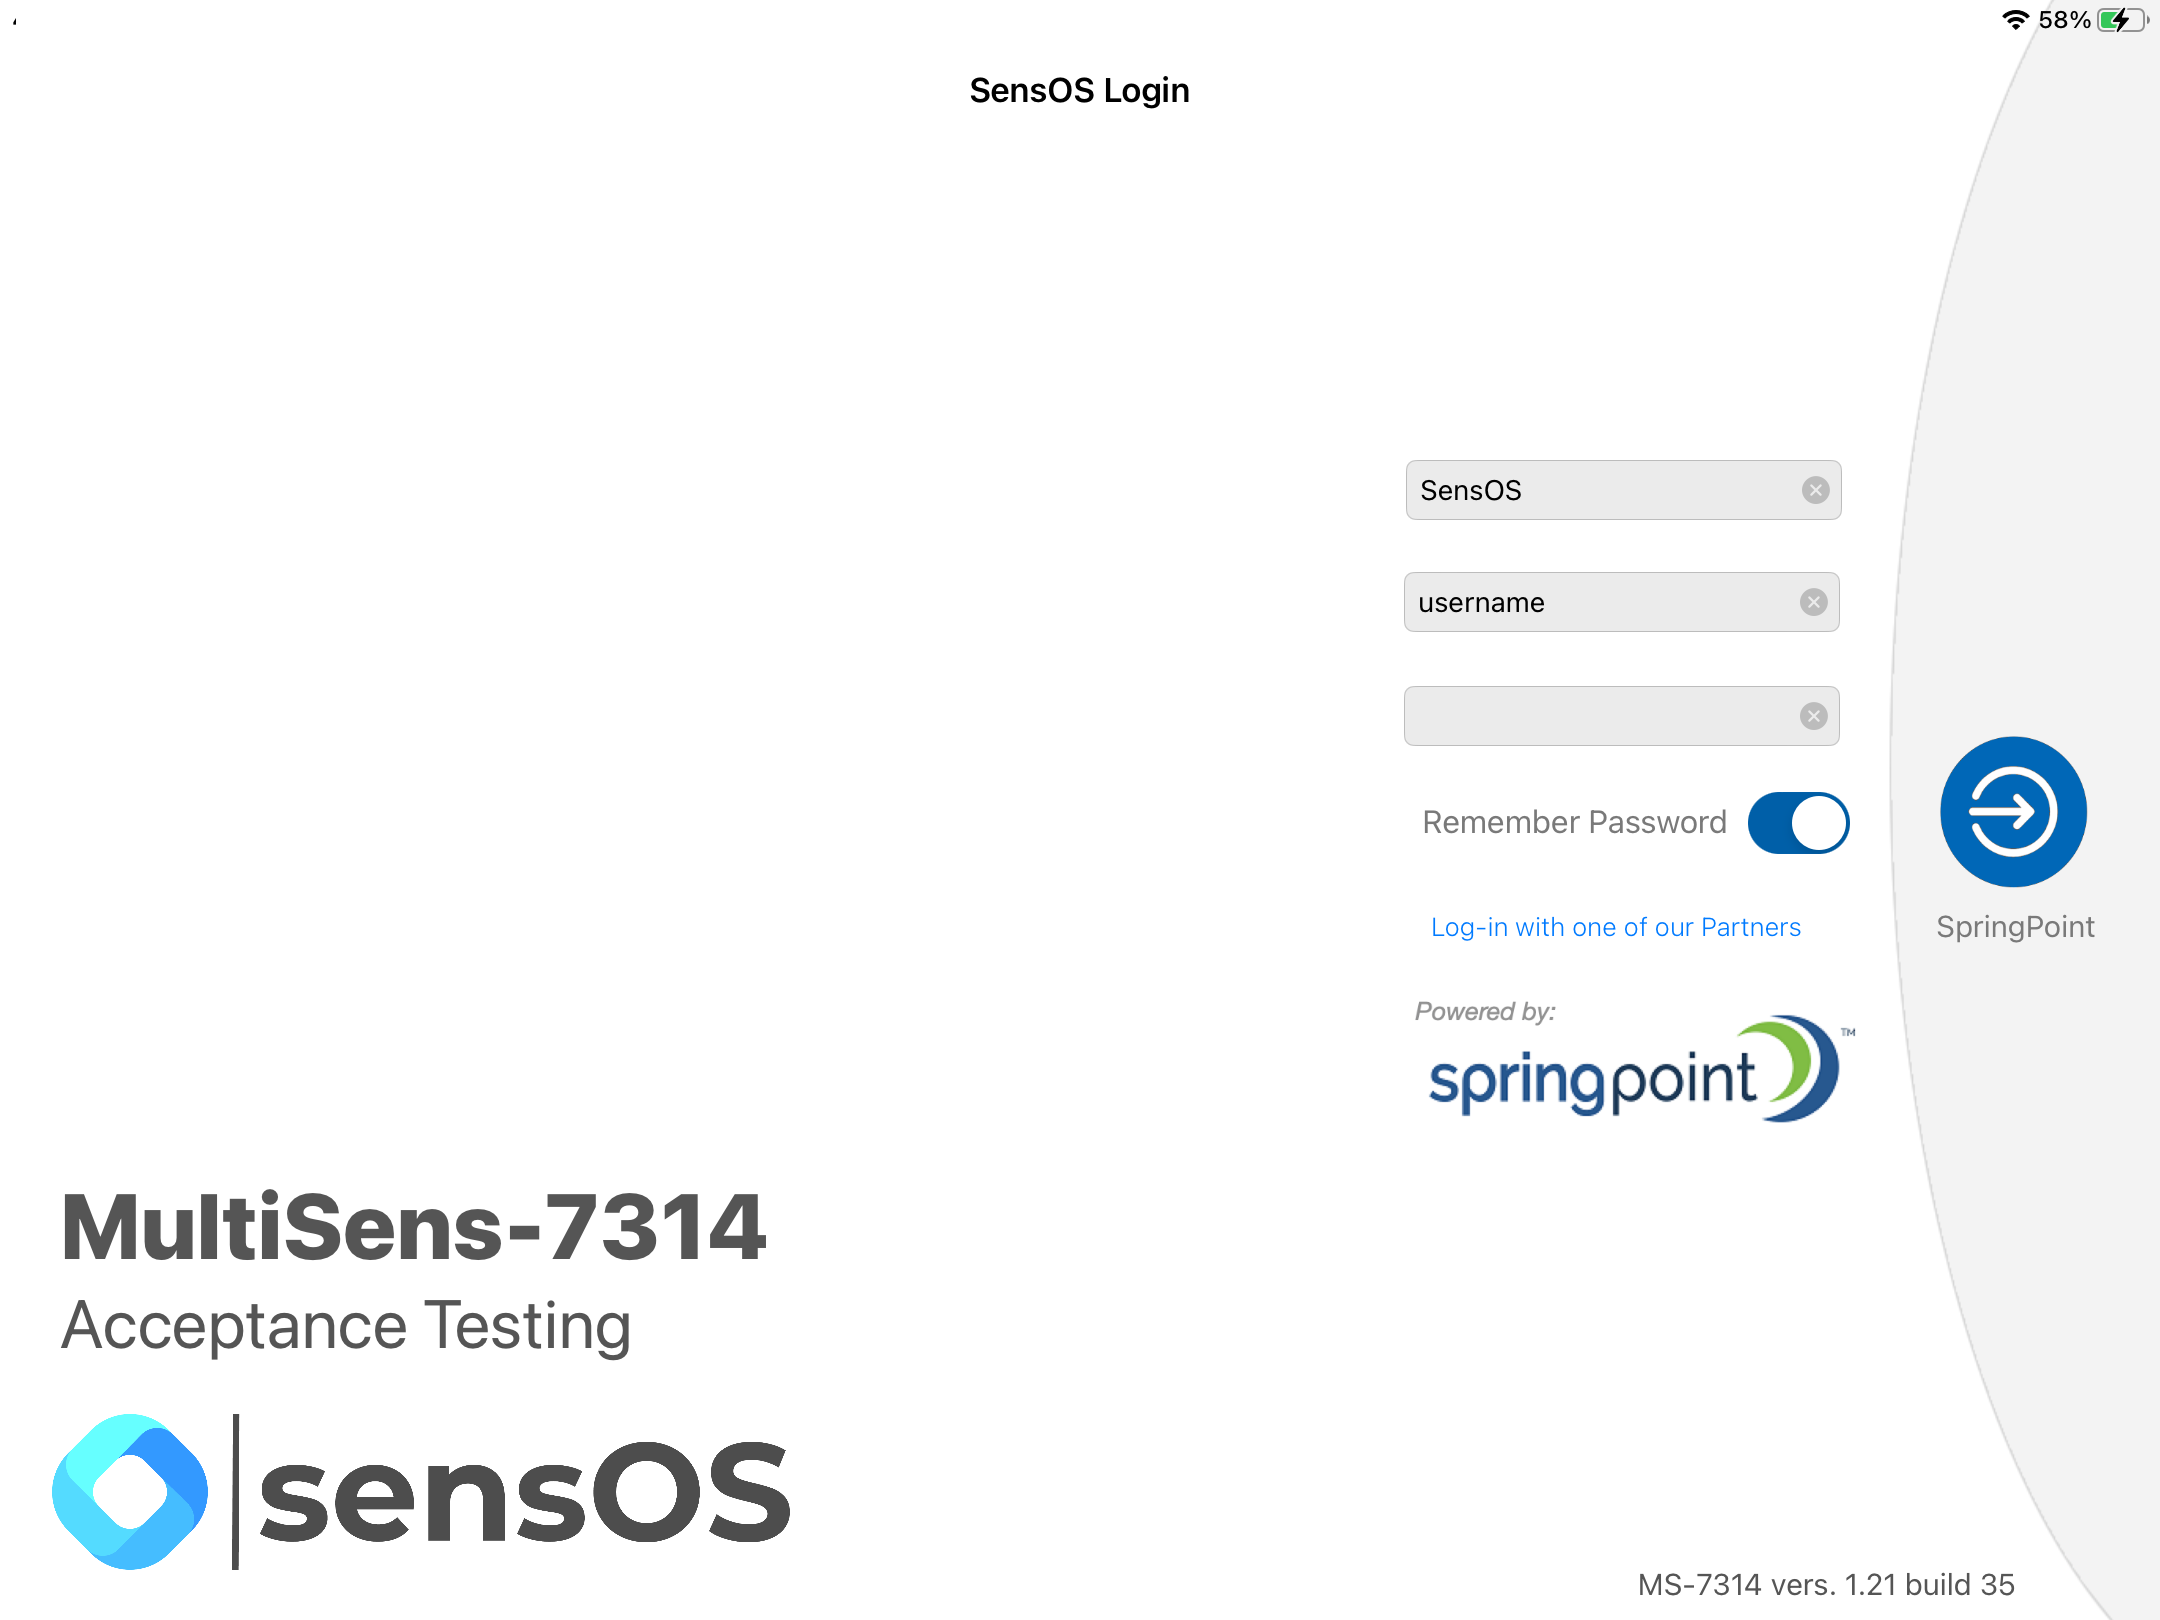
- From the list of partners, select "SpringPoint" and enter the username, password and company ID from the user's SPS account. then press the blue circular button to proceed to login..
Main Menu
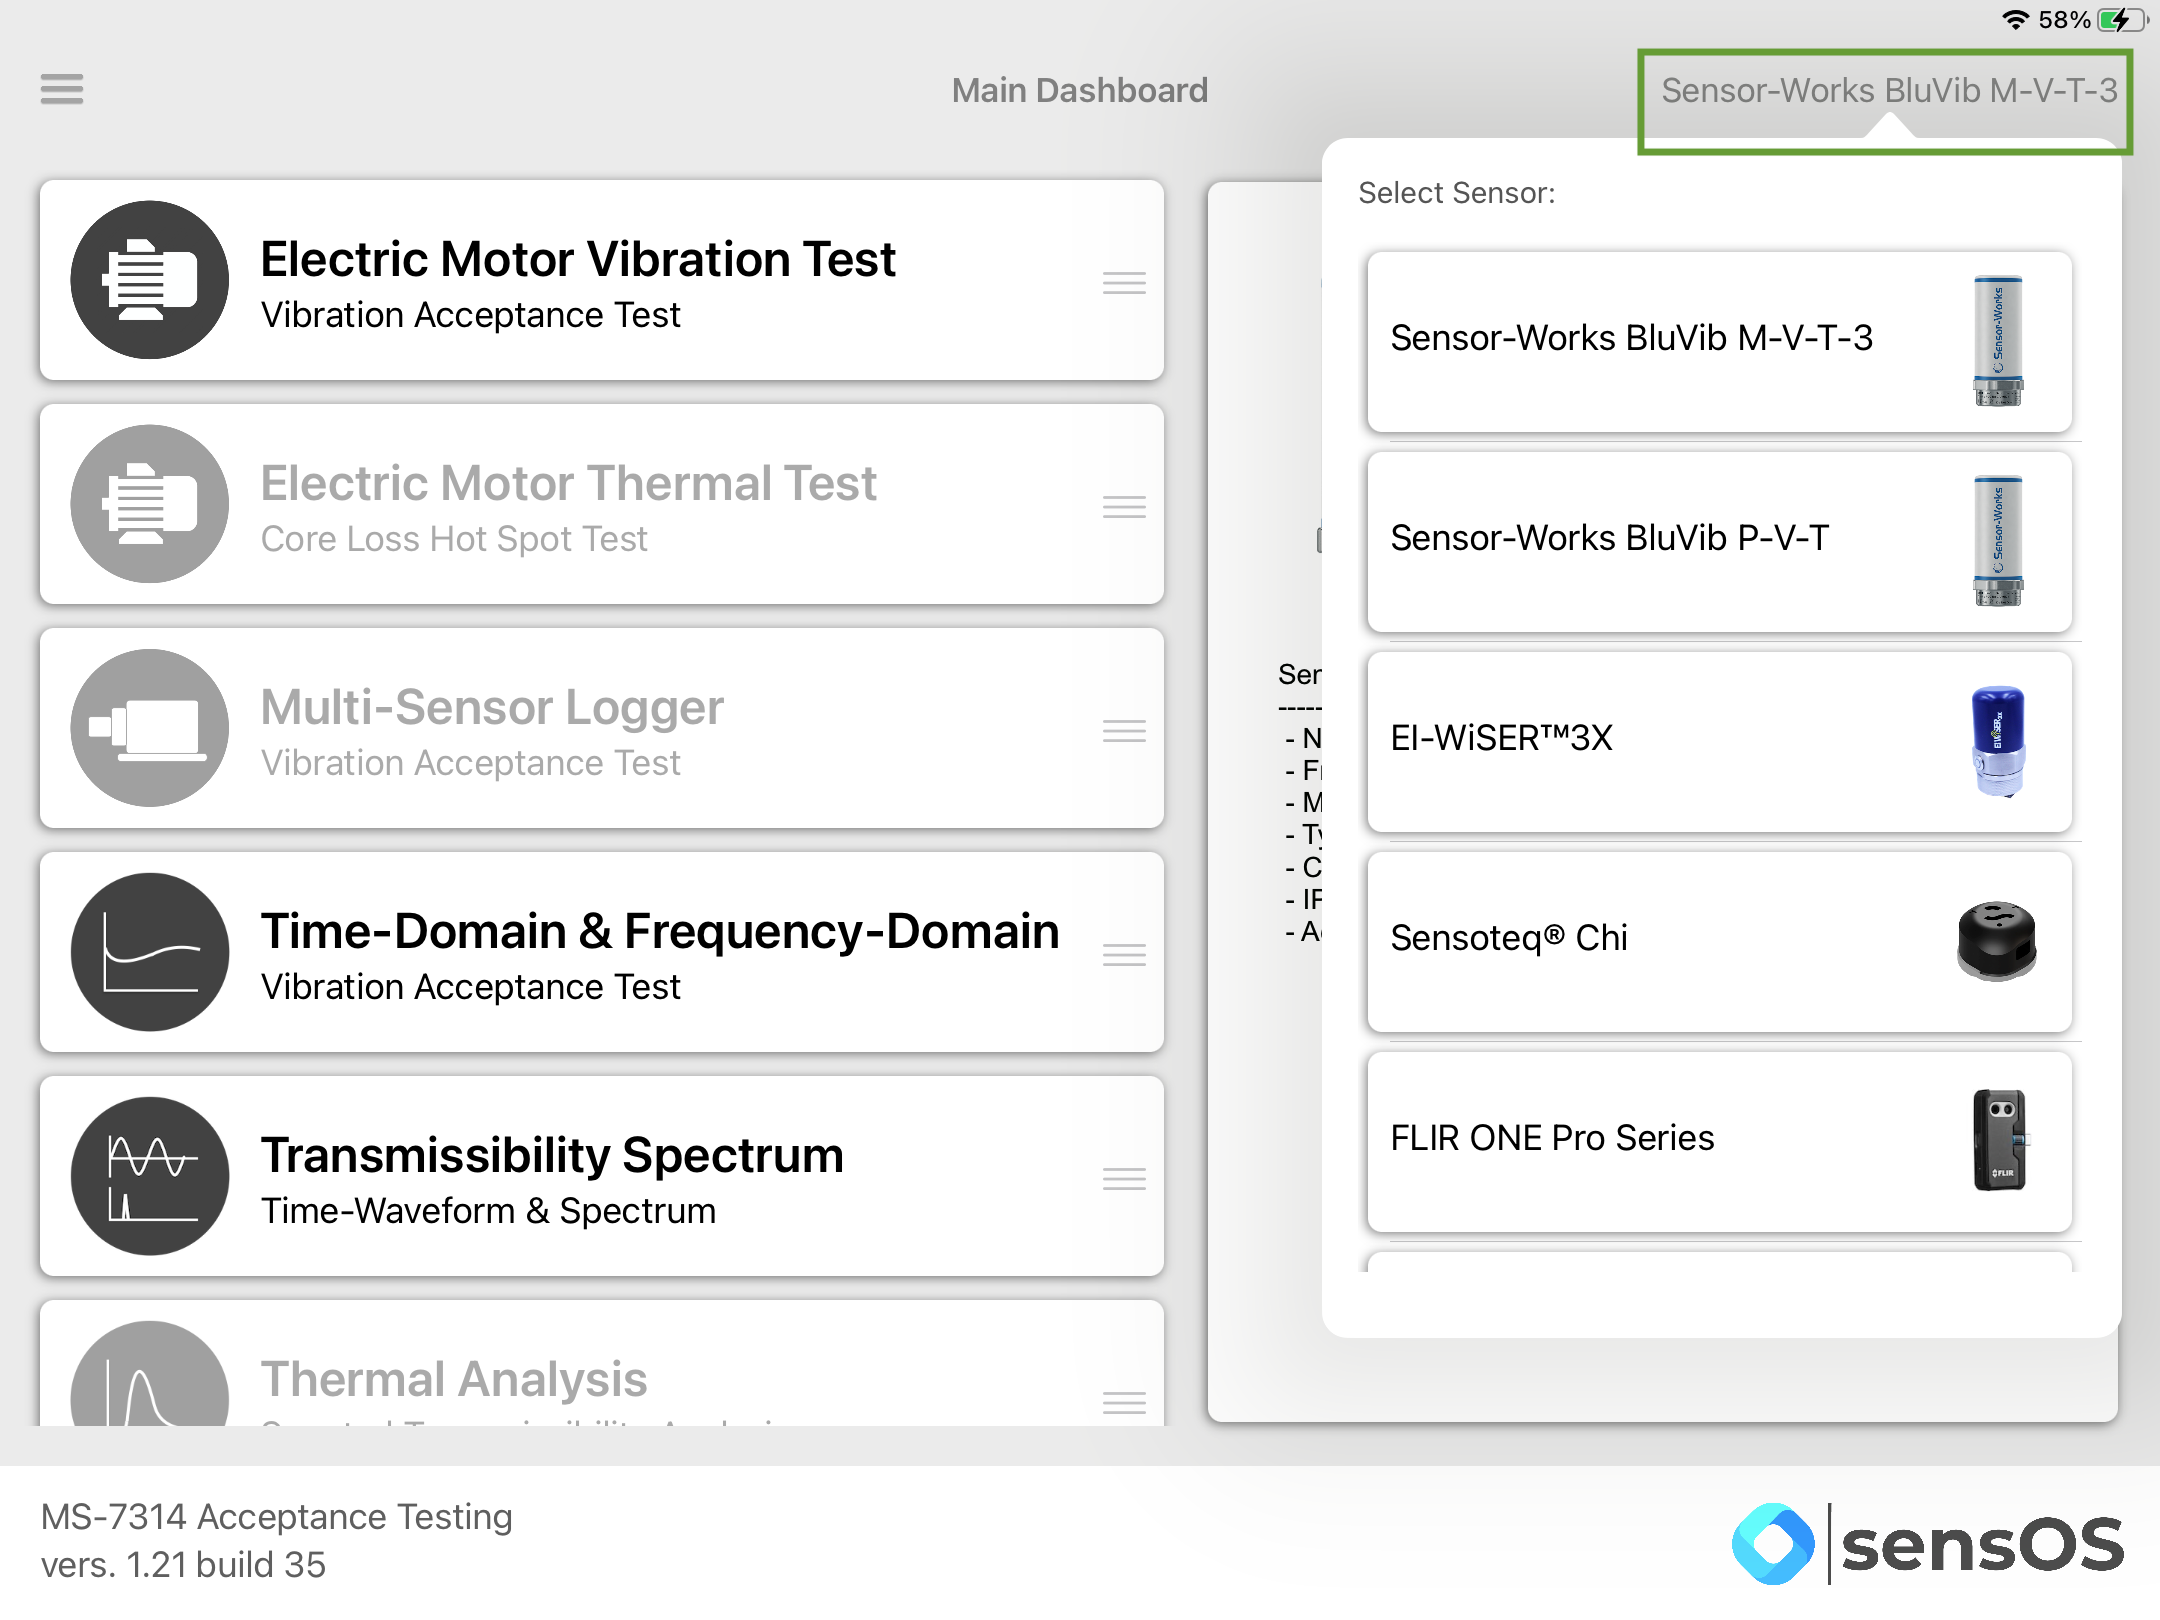
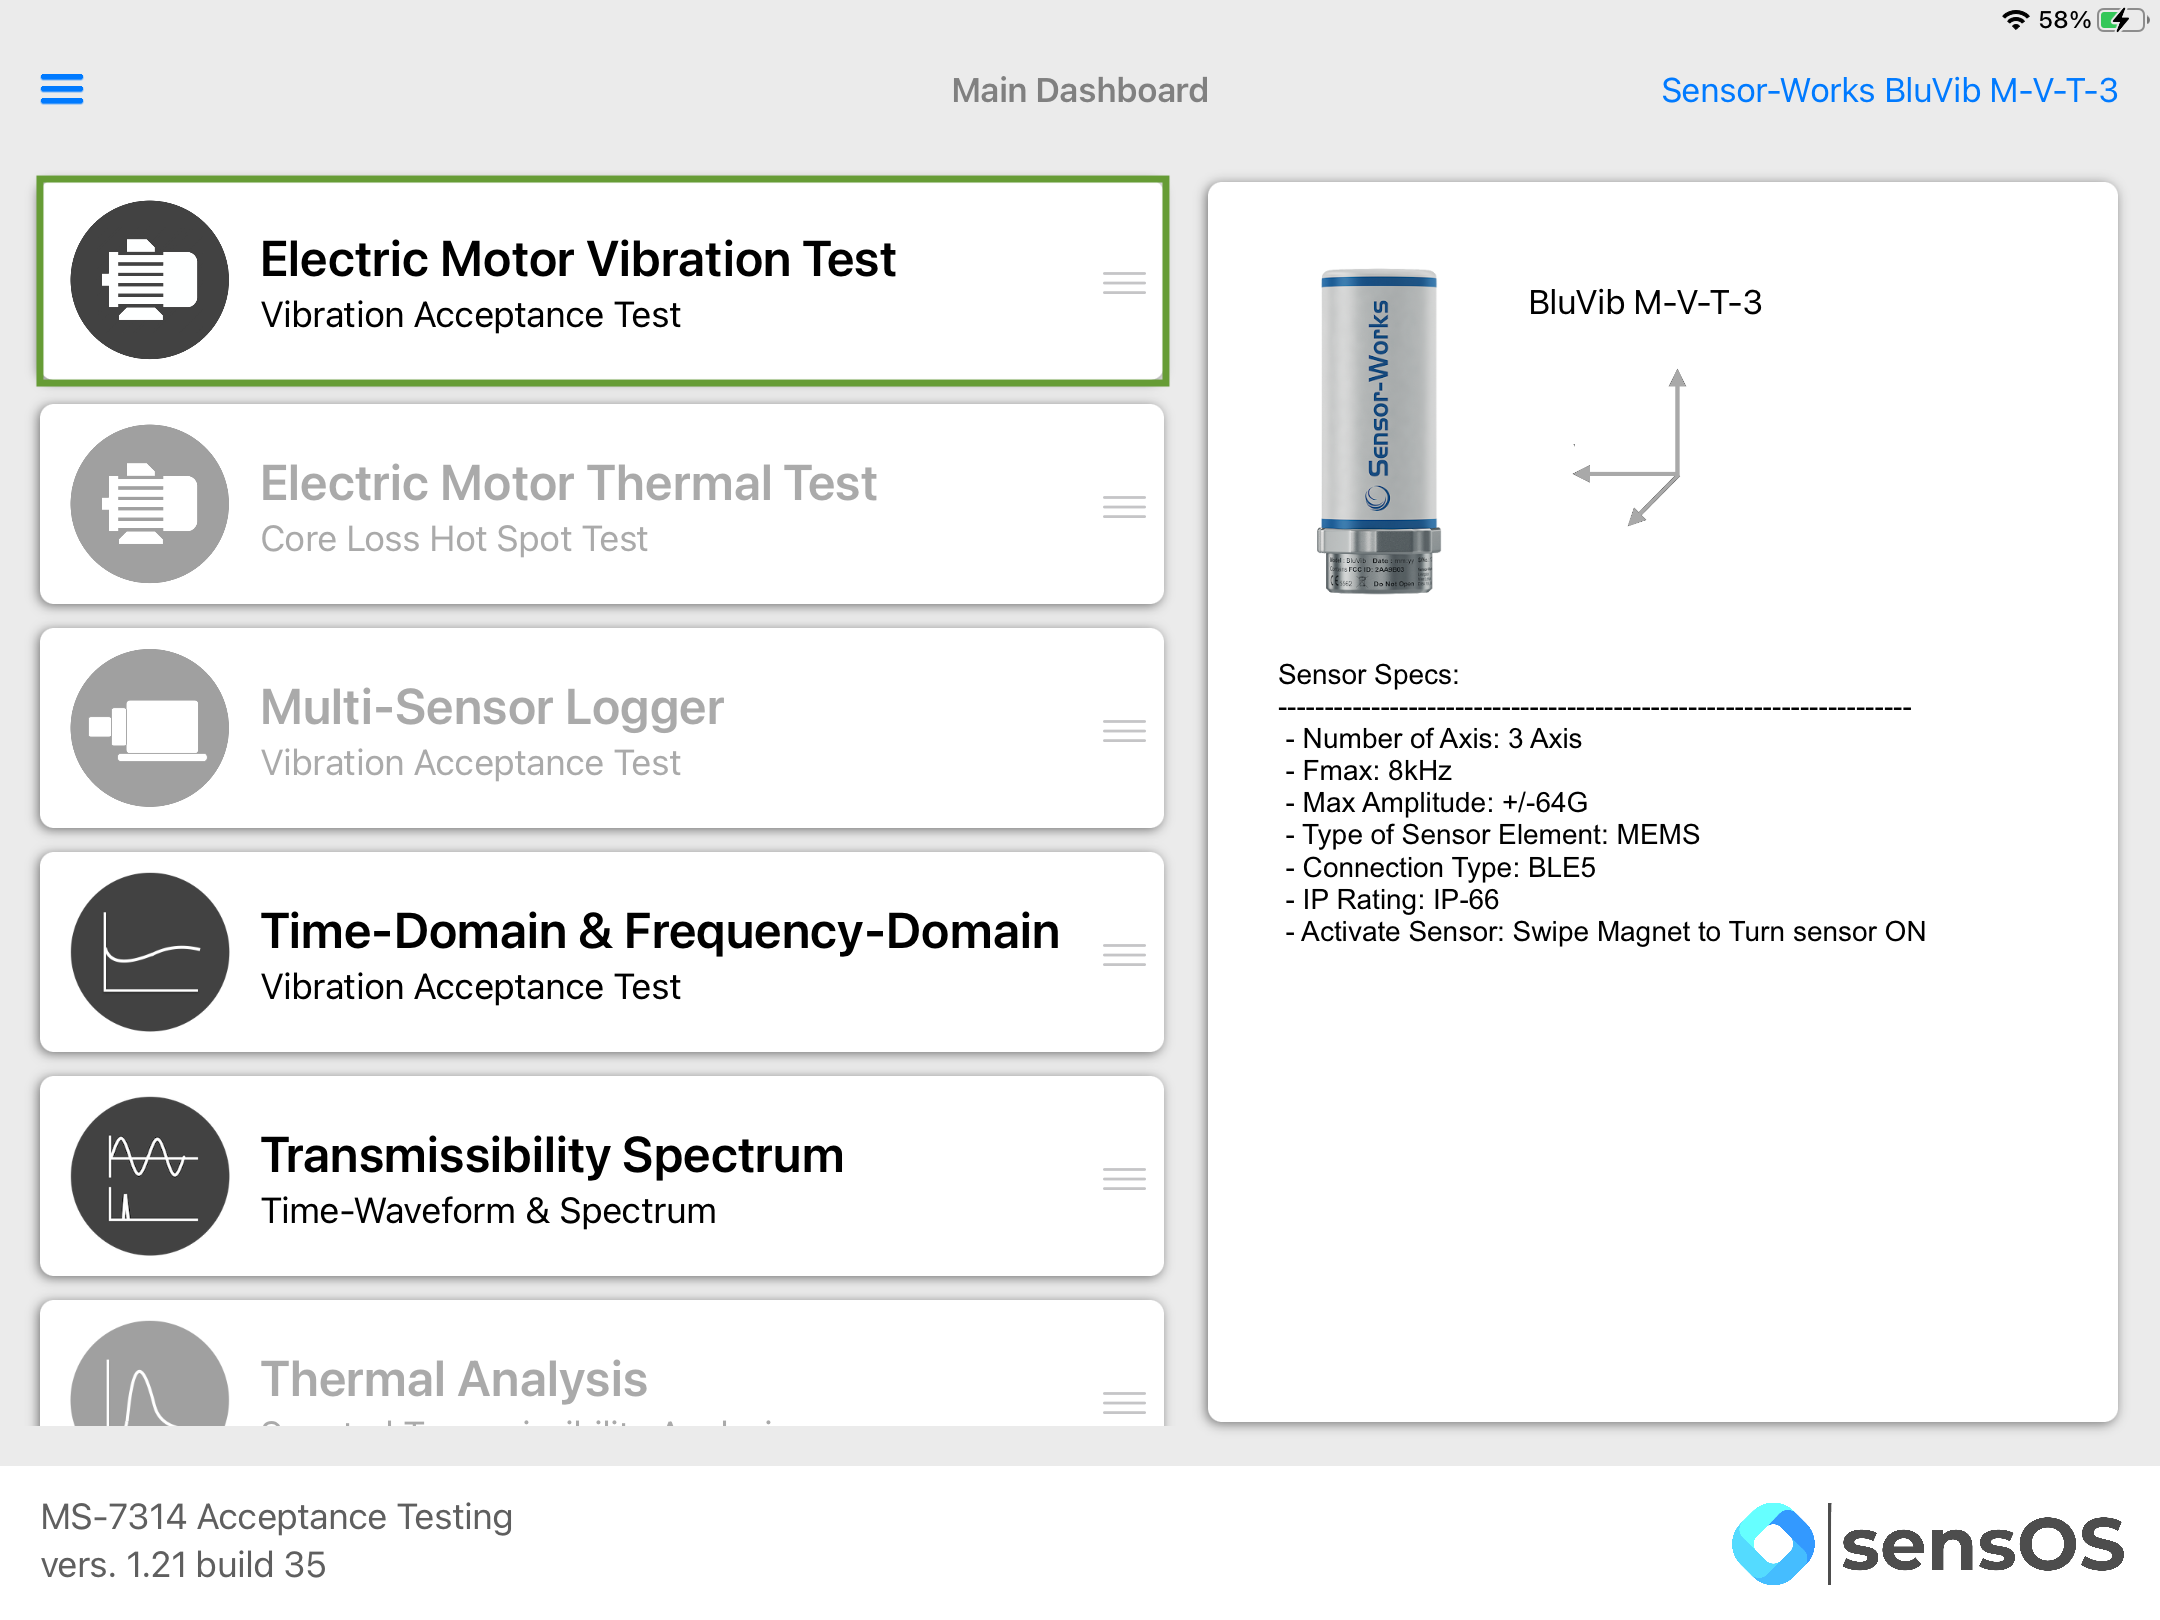
- Tap on the Sensor name button to open the list of available sensors, and select the accelerometer type from the list
- From the list of functionalities select Electric Motor Vibration Test.
Note: The user can change the order of the functionalities in the list by dragging it from the right button on each cell
Electric Motor Vibration Test
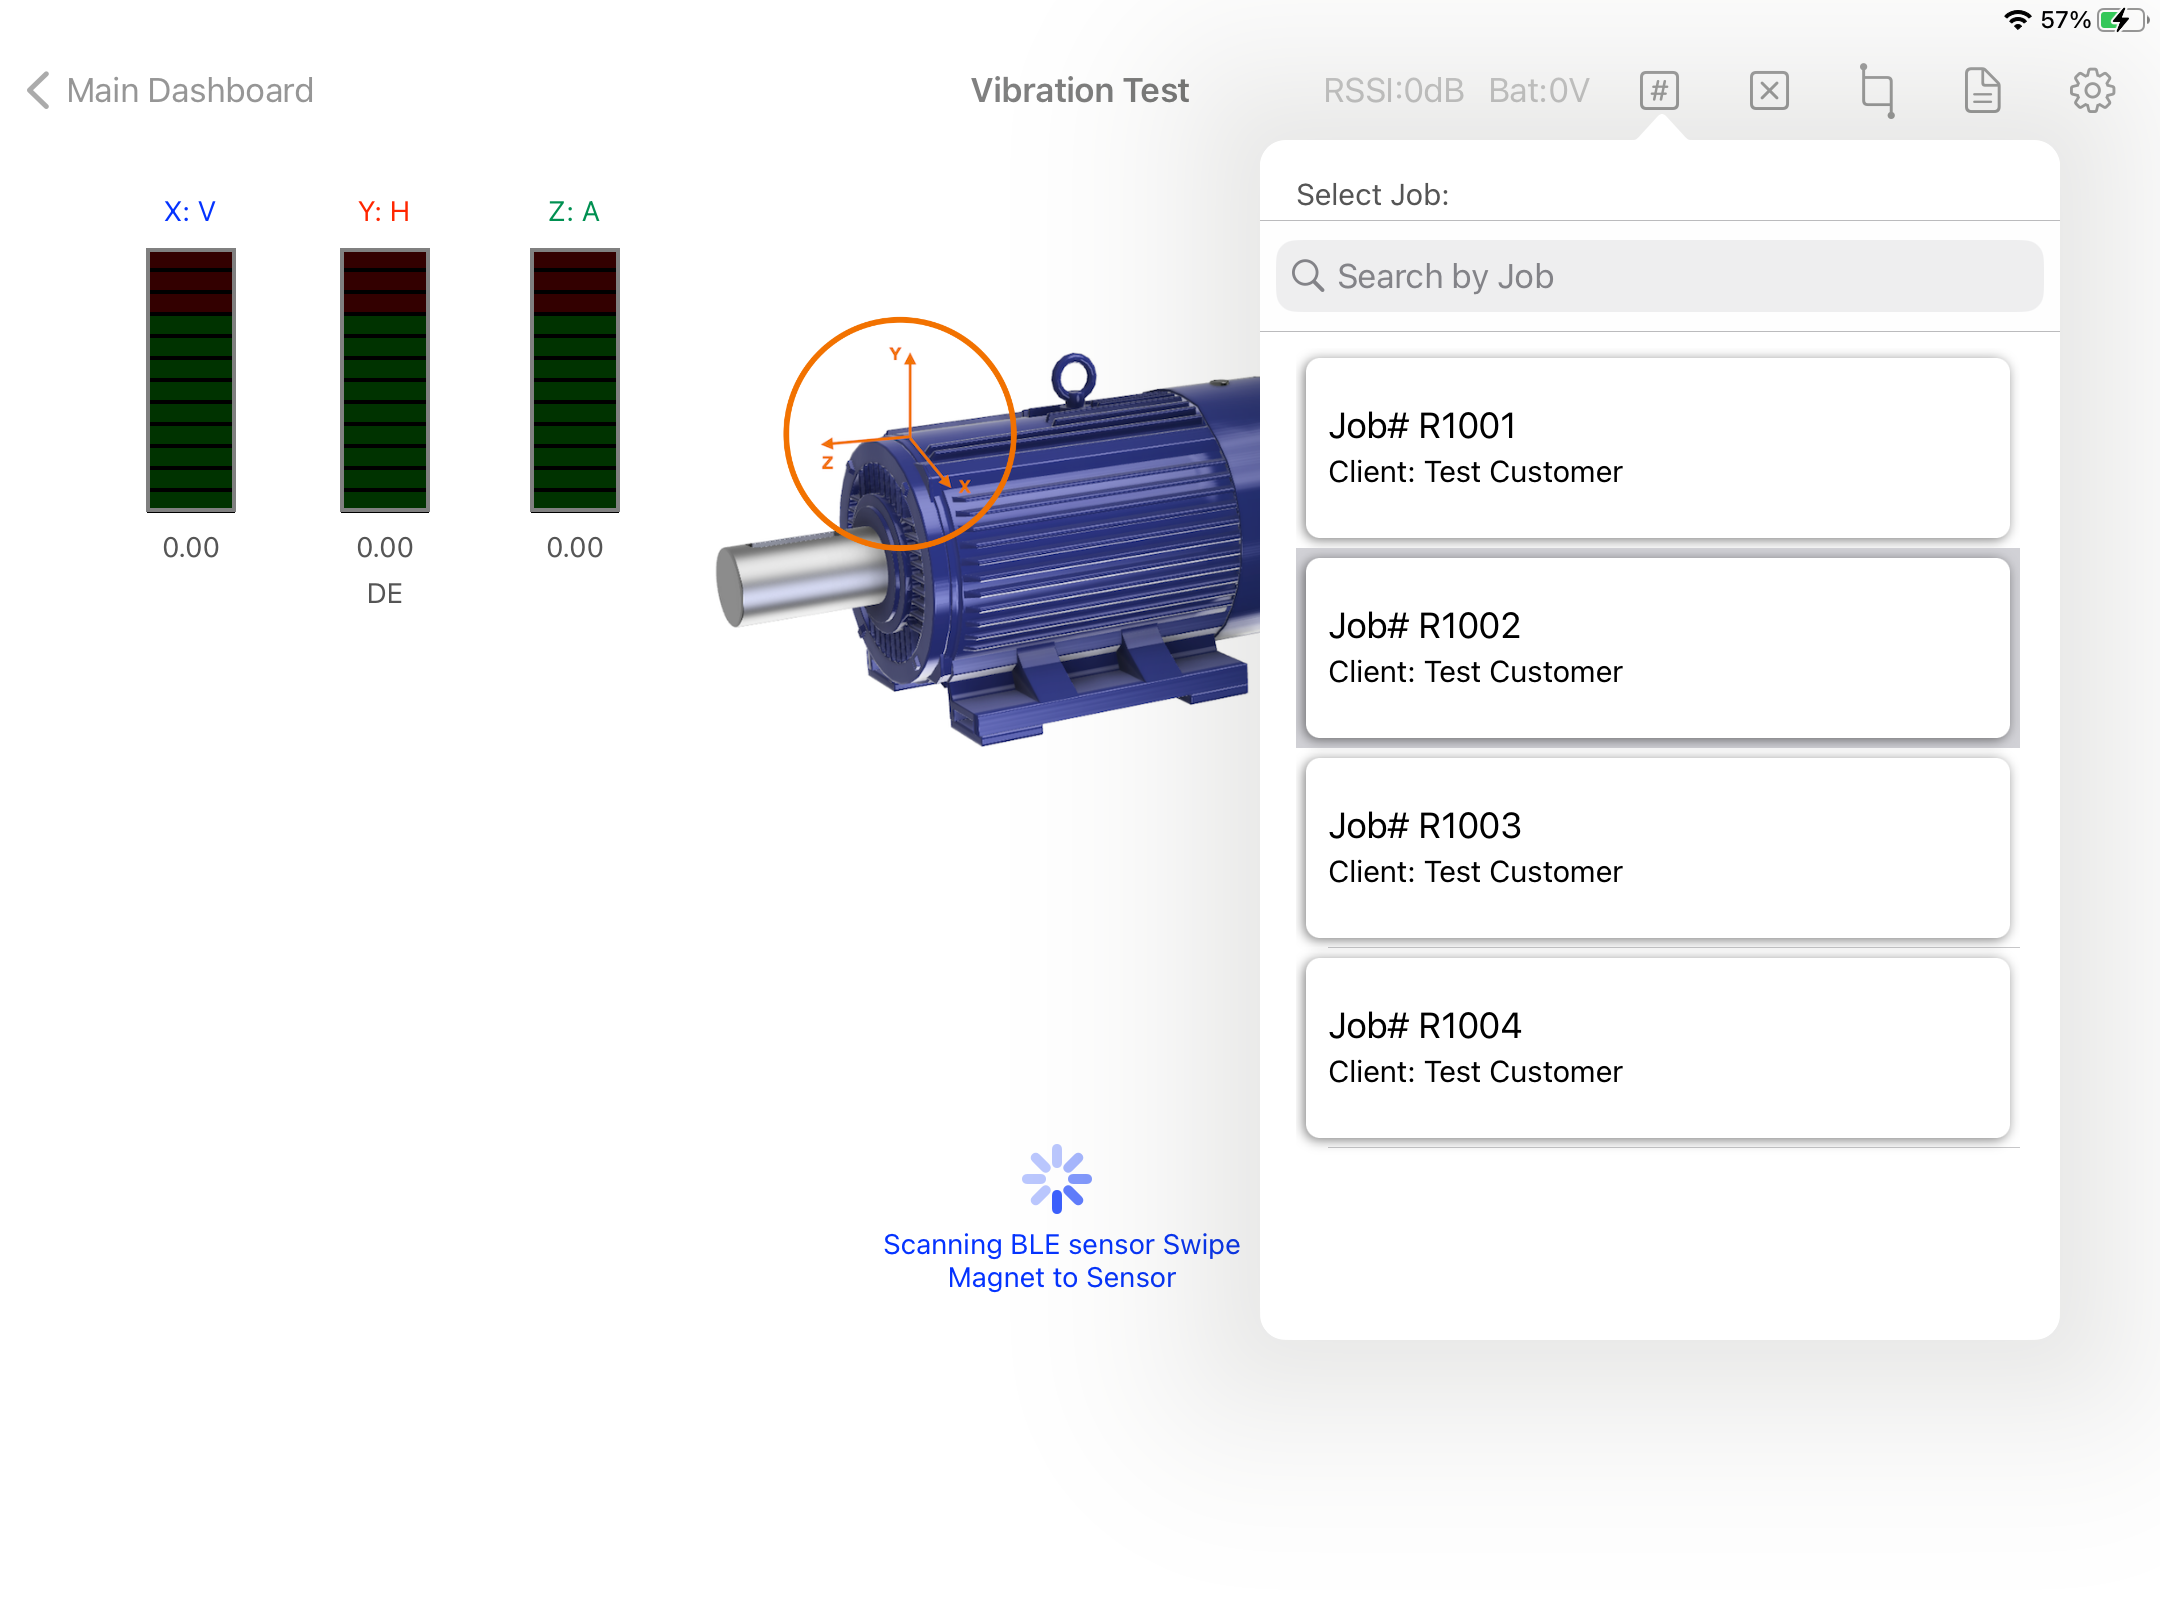
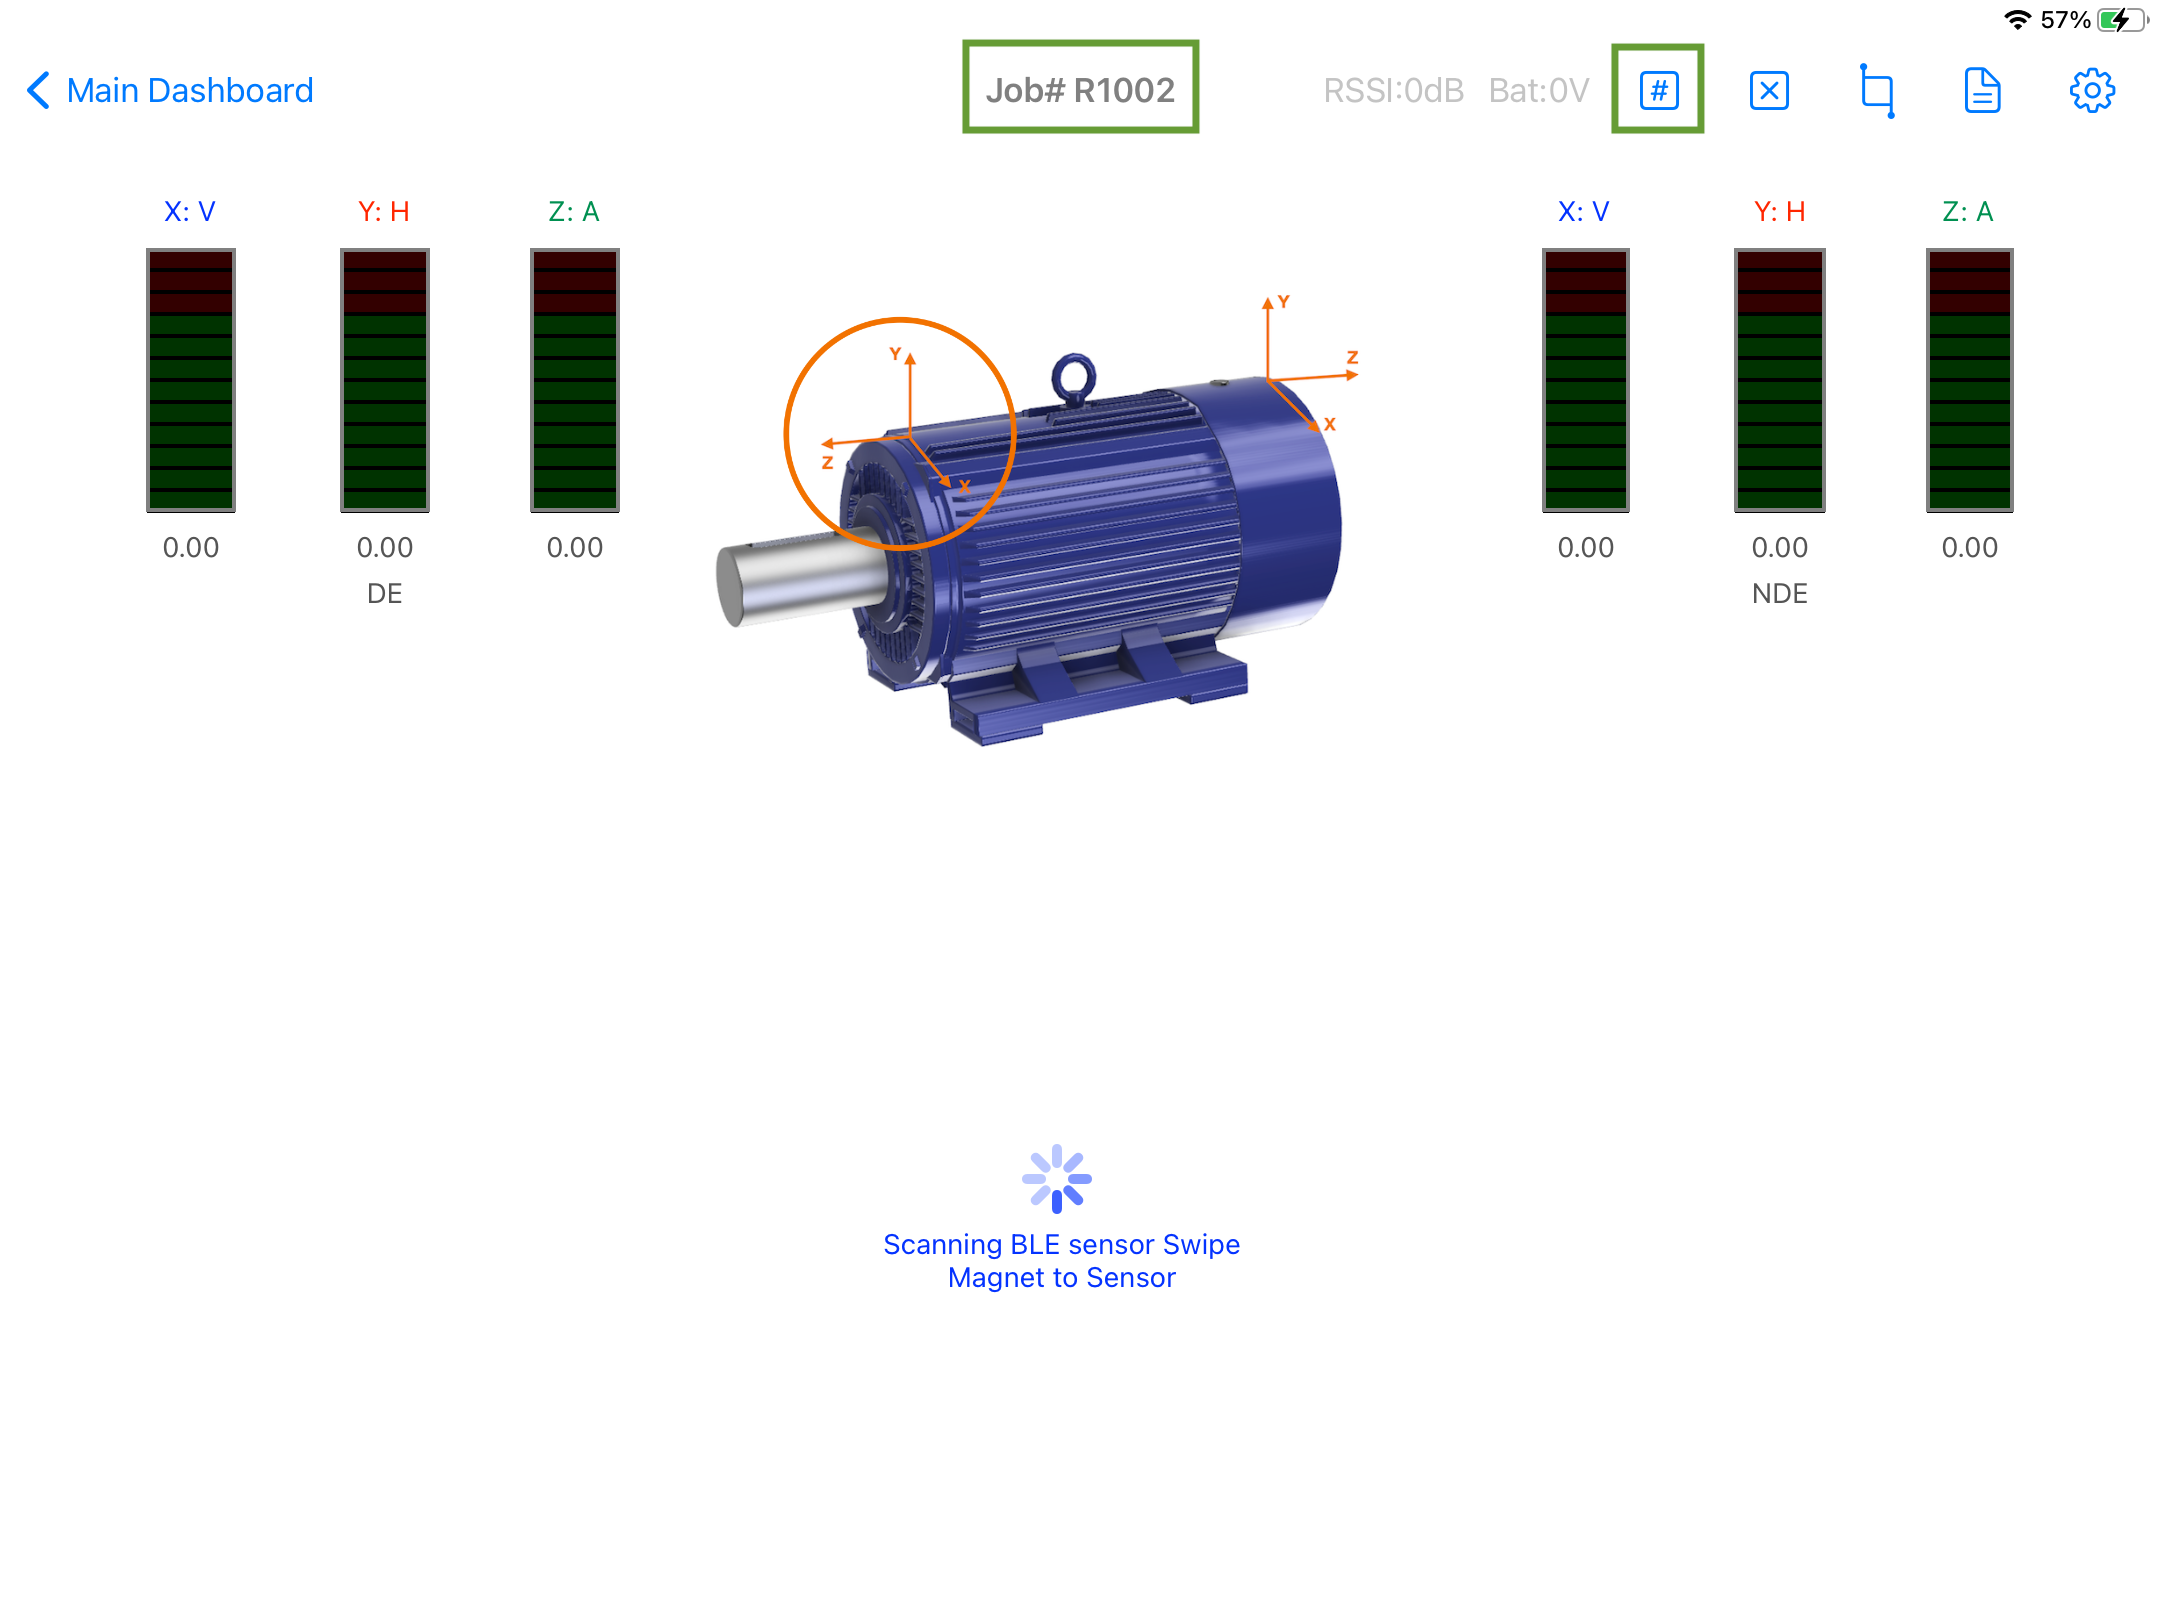
- After loading the view the list of open Jobs will be presented in a pop-up, the user can select the job number or use the search feature to filter the list. Select a Job number and press on any place of the screen to close the pop-up. The selected Job number will be shown in the screen title. The job can be cahnged at any time by pressing the [#] button on the top menu bar.
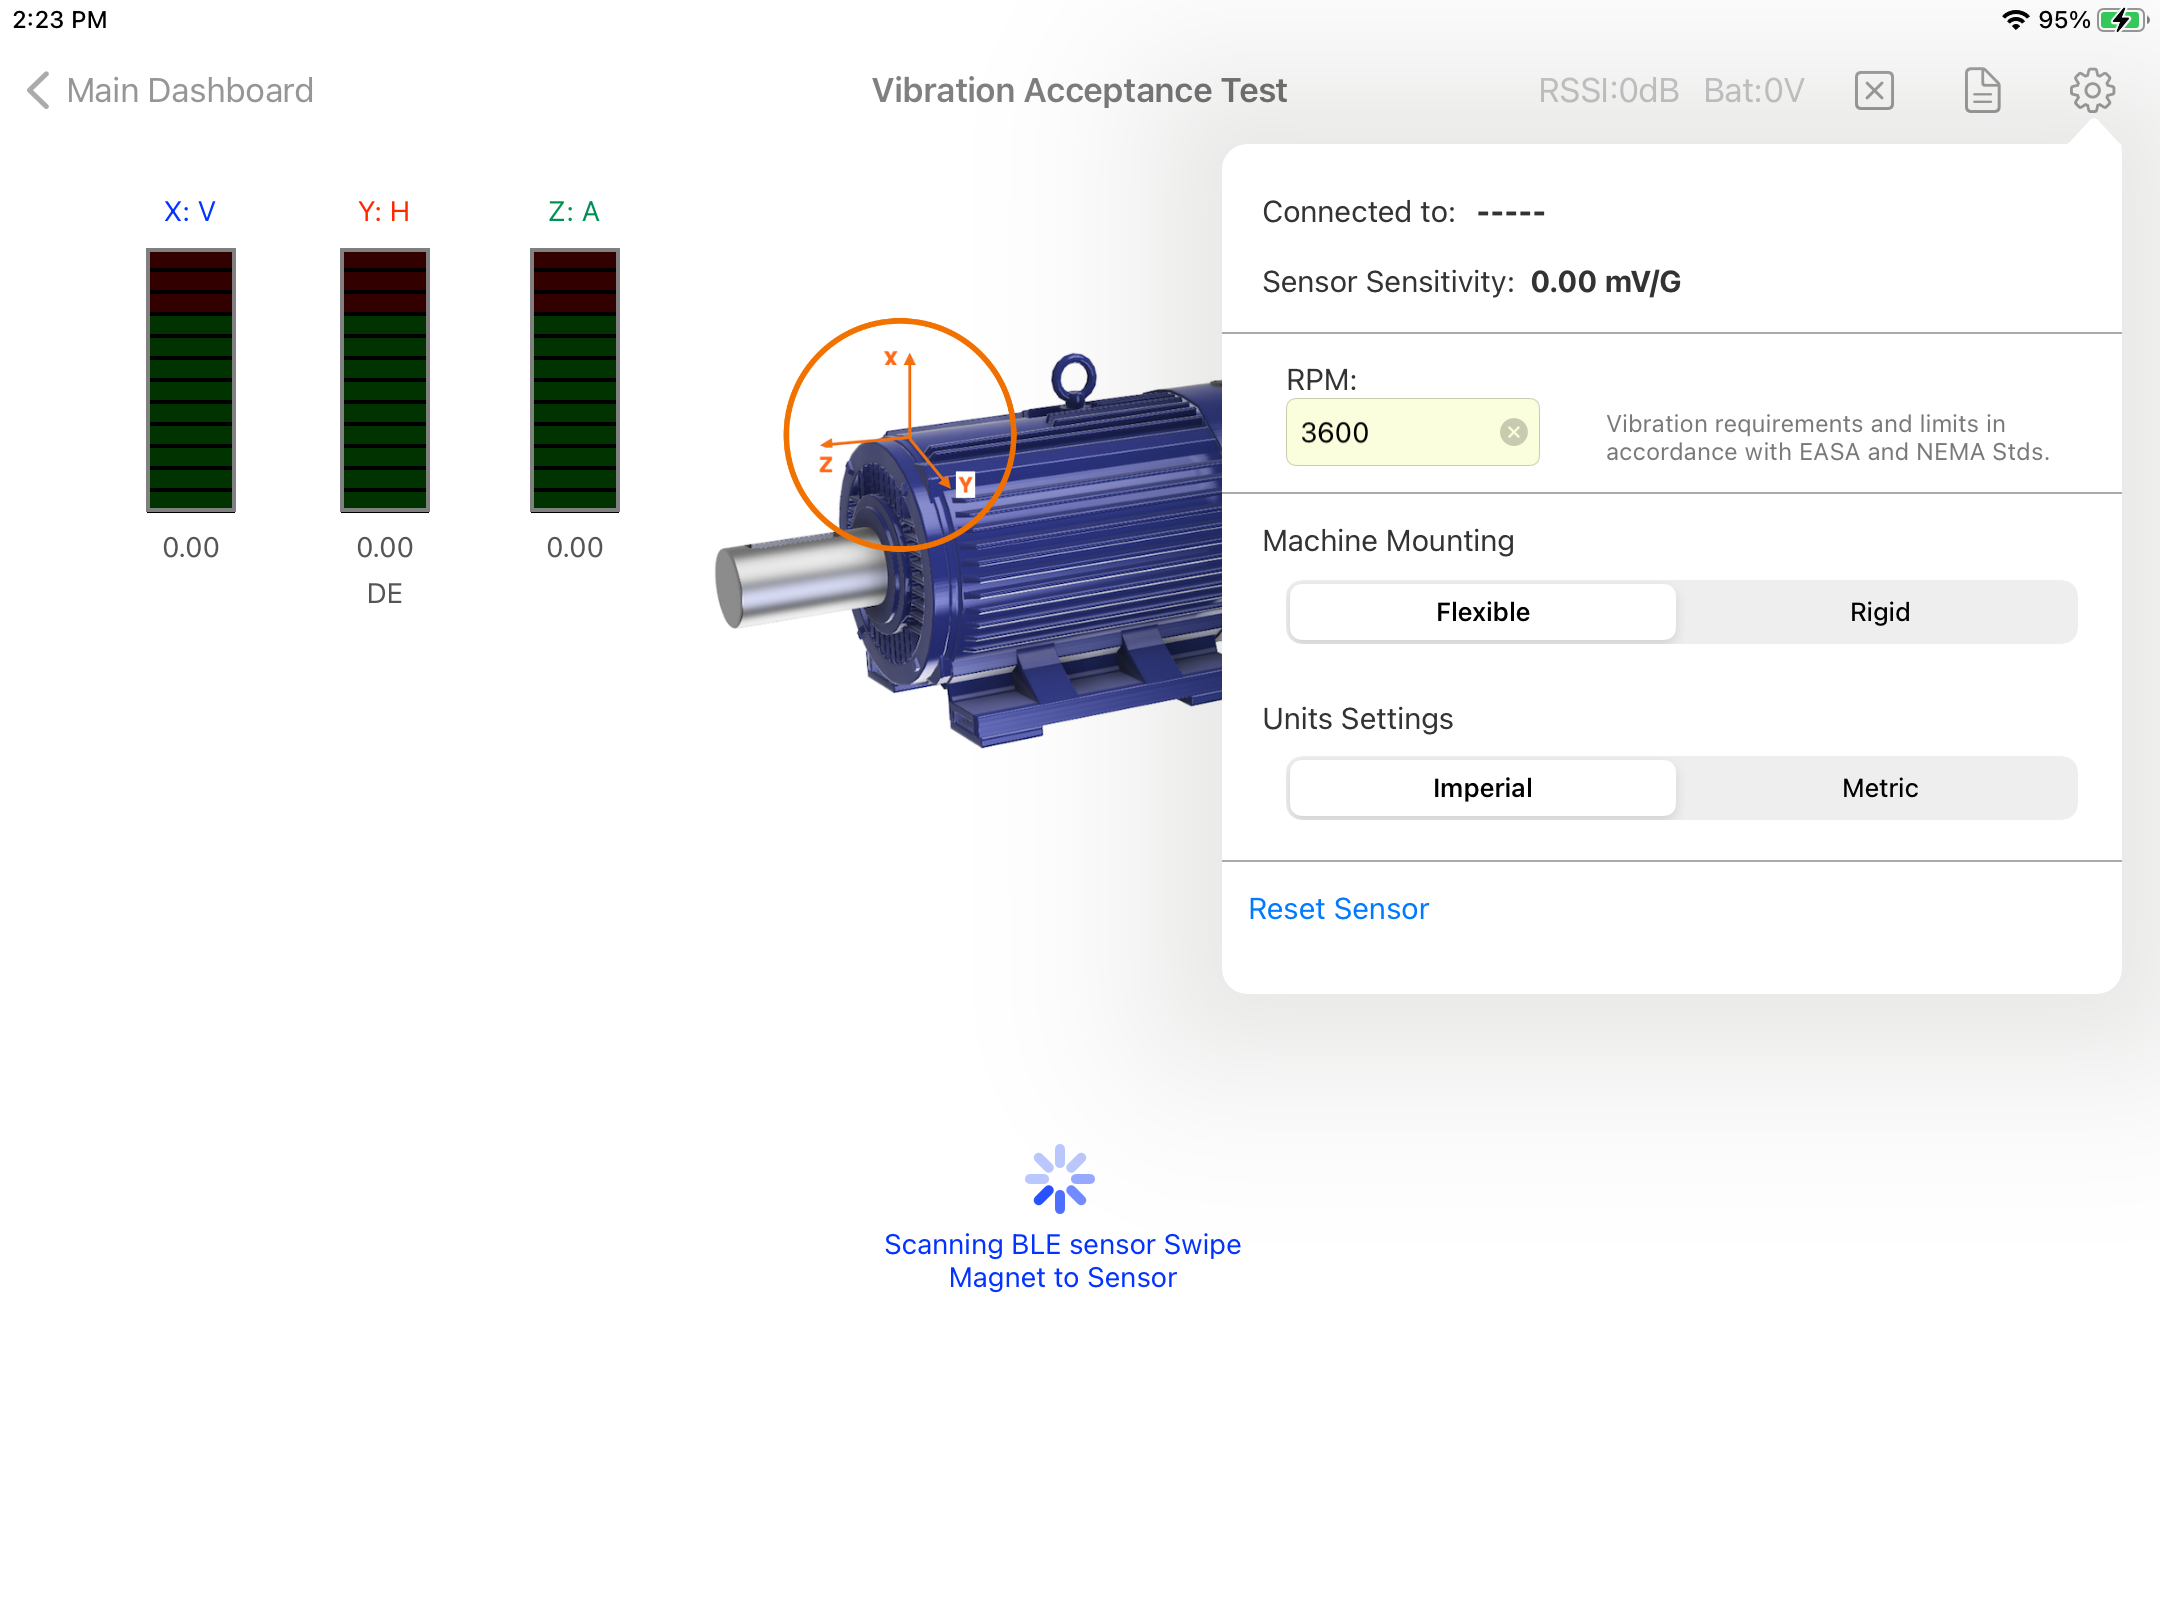
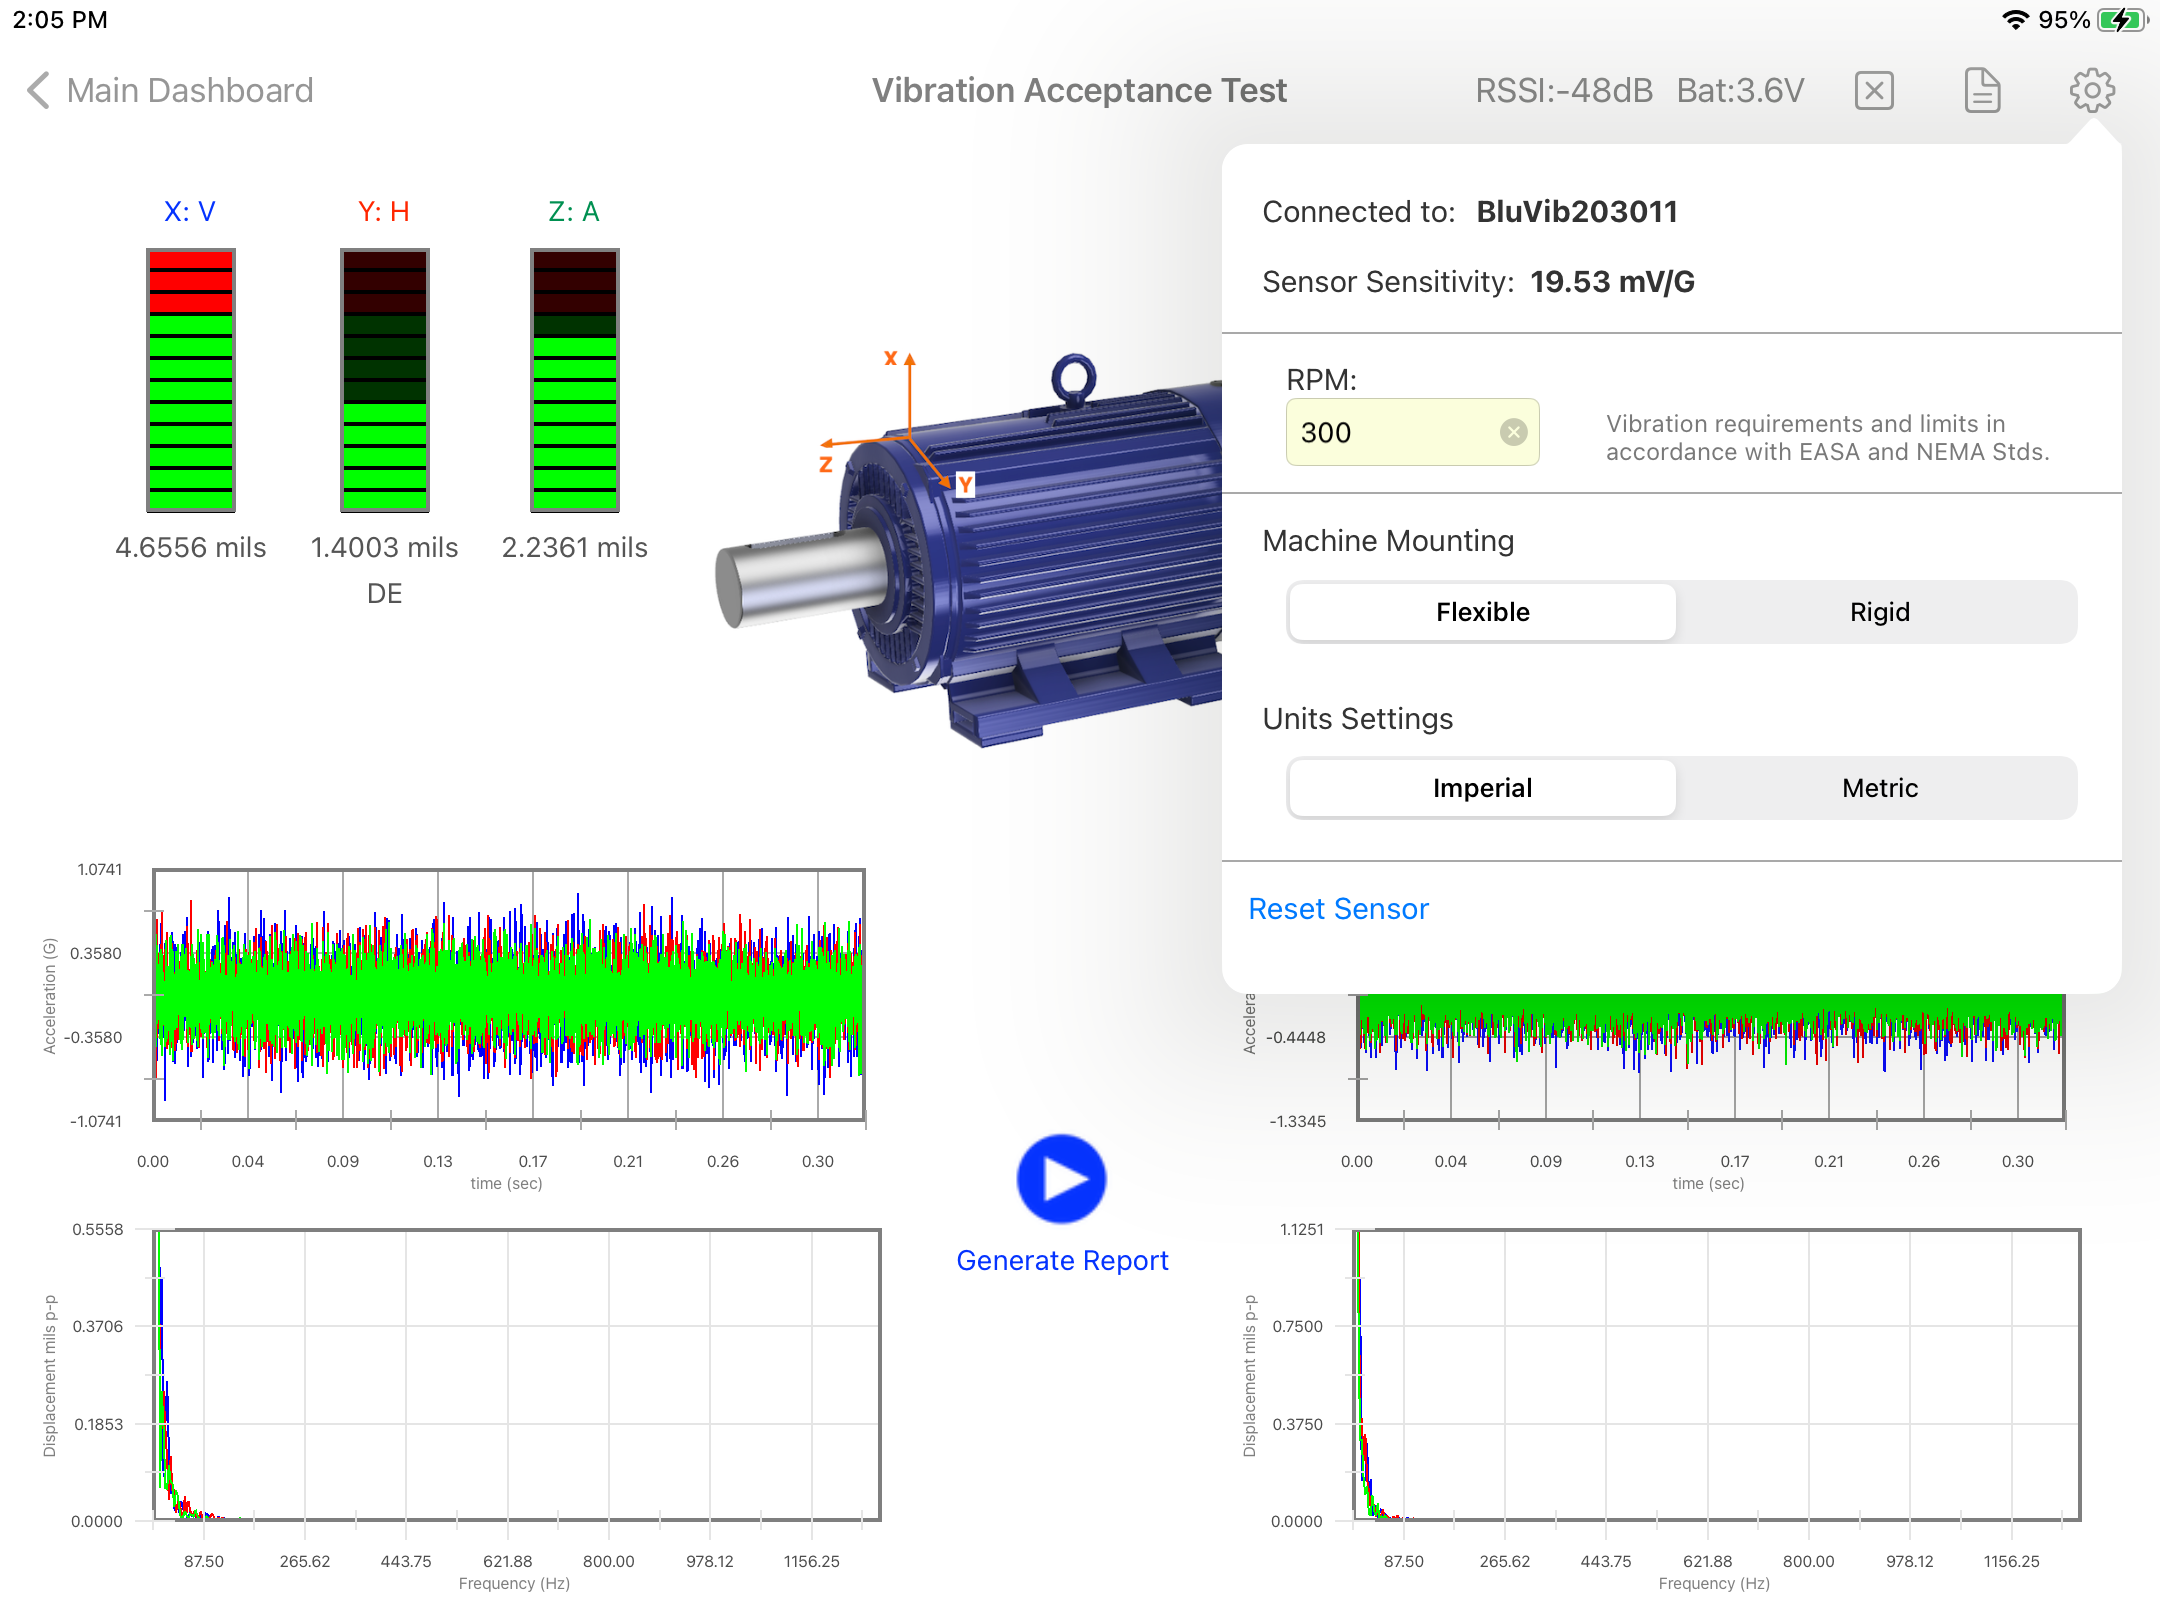
- Tap on the settings button in the top bar menu to open the settings pop-up. Enter the machine RPM, the type of mounting and the units (All 3 are required to perform an assessment of the motor compliant with the EASA and NEMA Standards1). The sampling settings of the sensor are automatically set to comply with the standard.
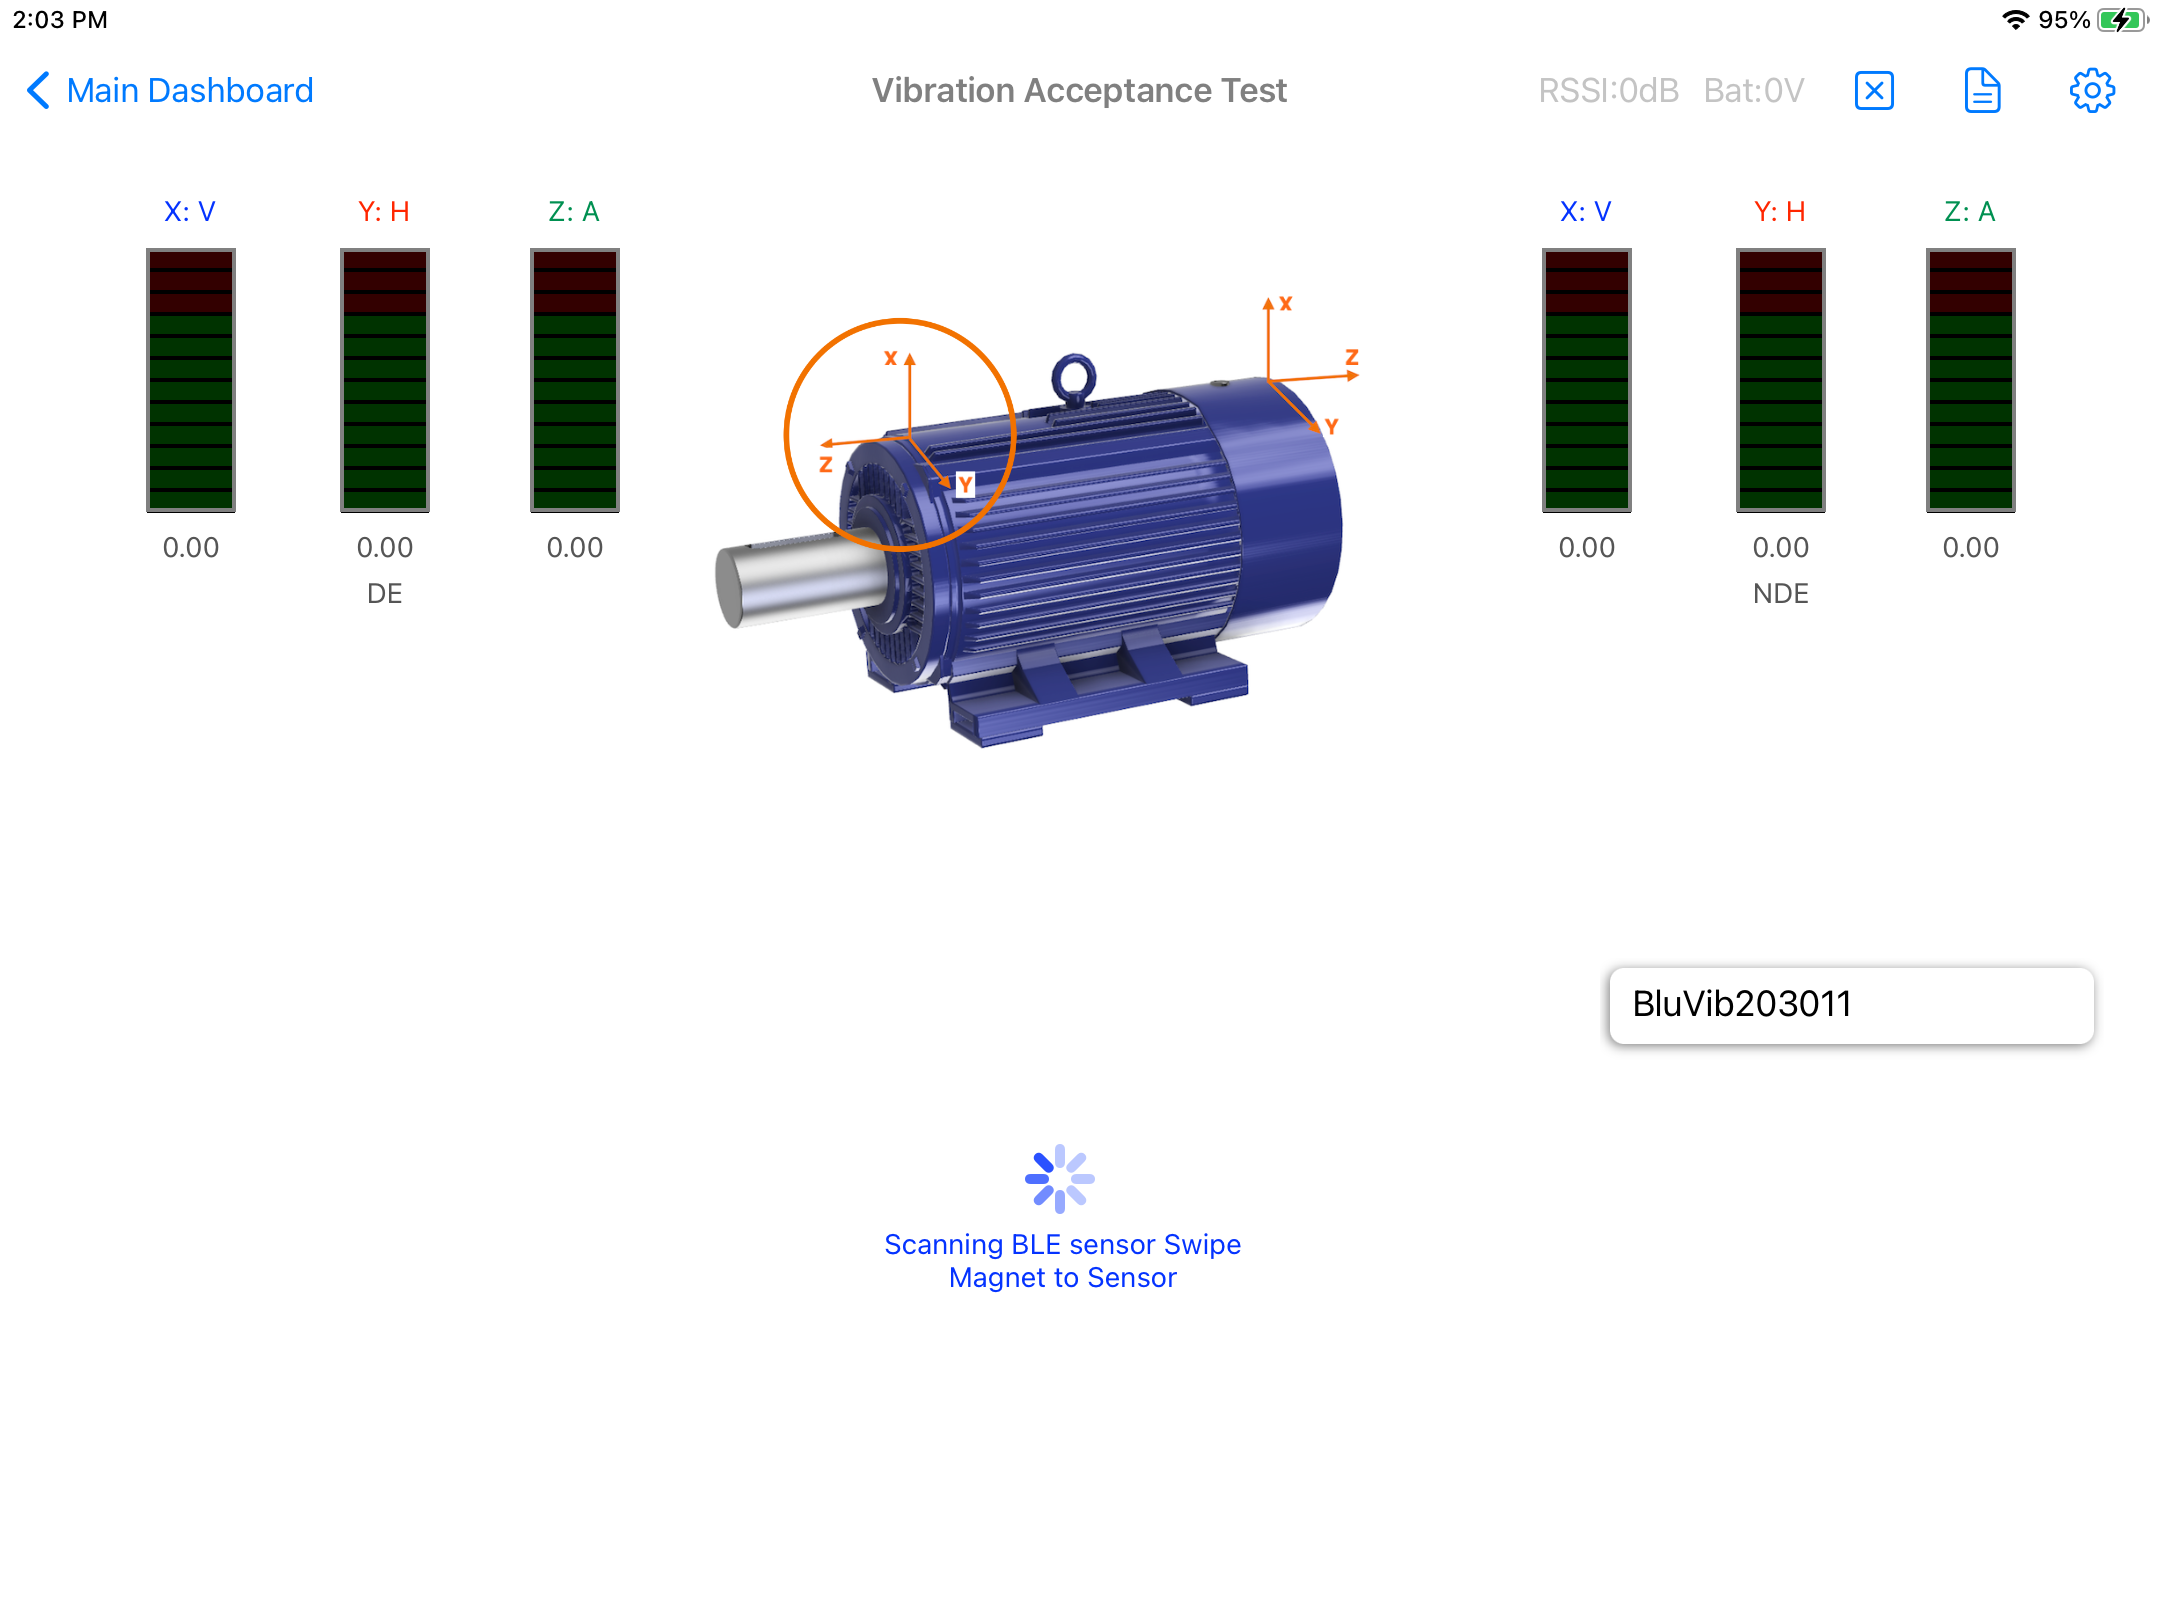
- If the sensor is off, swipe a magnet and it will appear listed on the screen. Tap on the sensor ID to connect it.
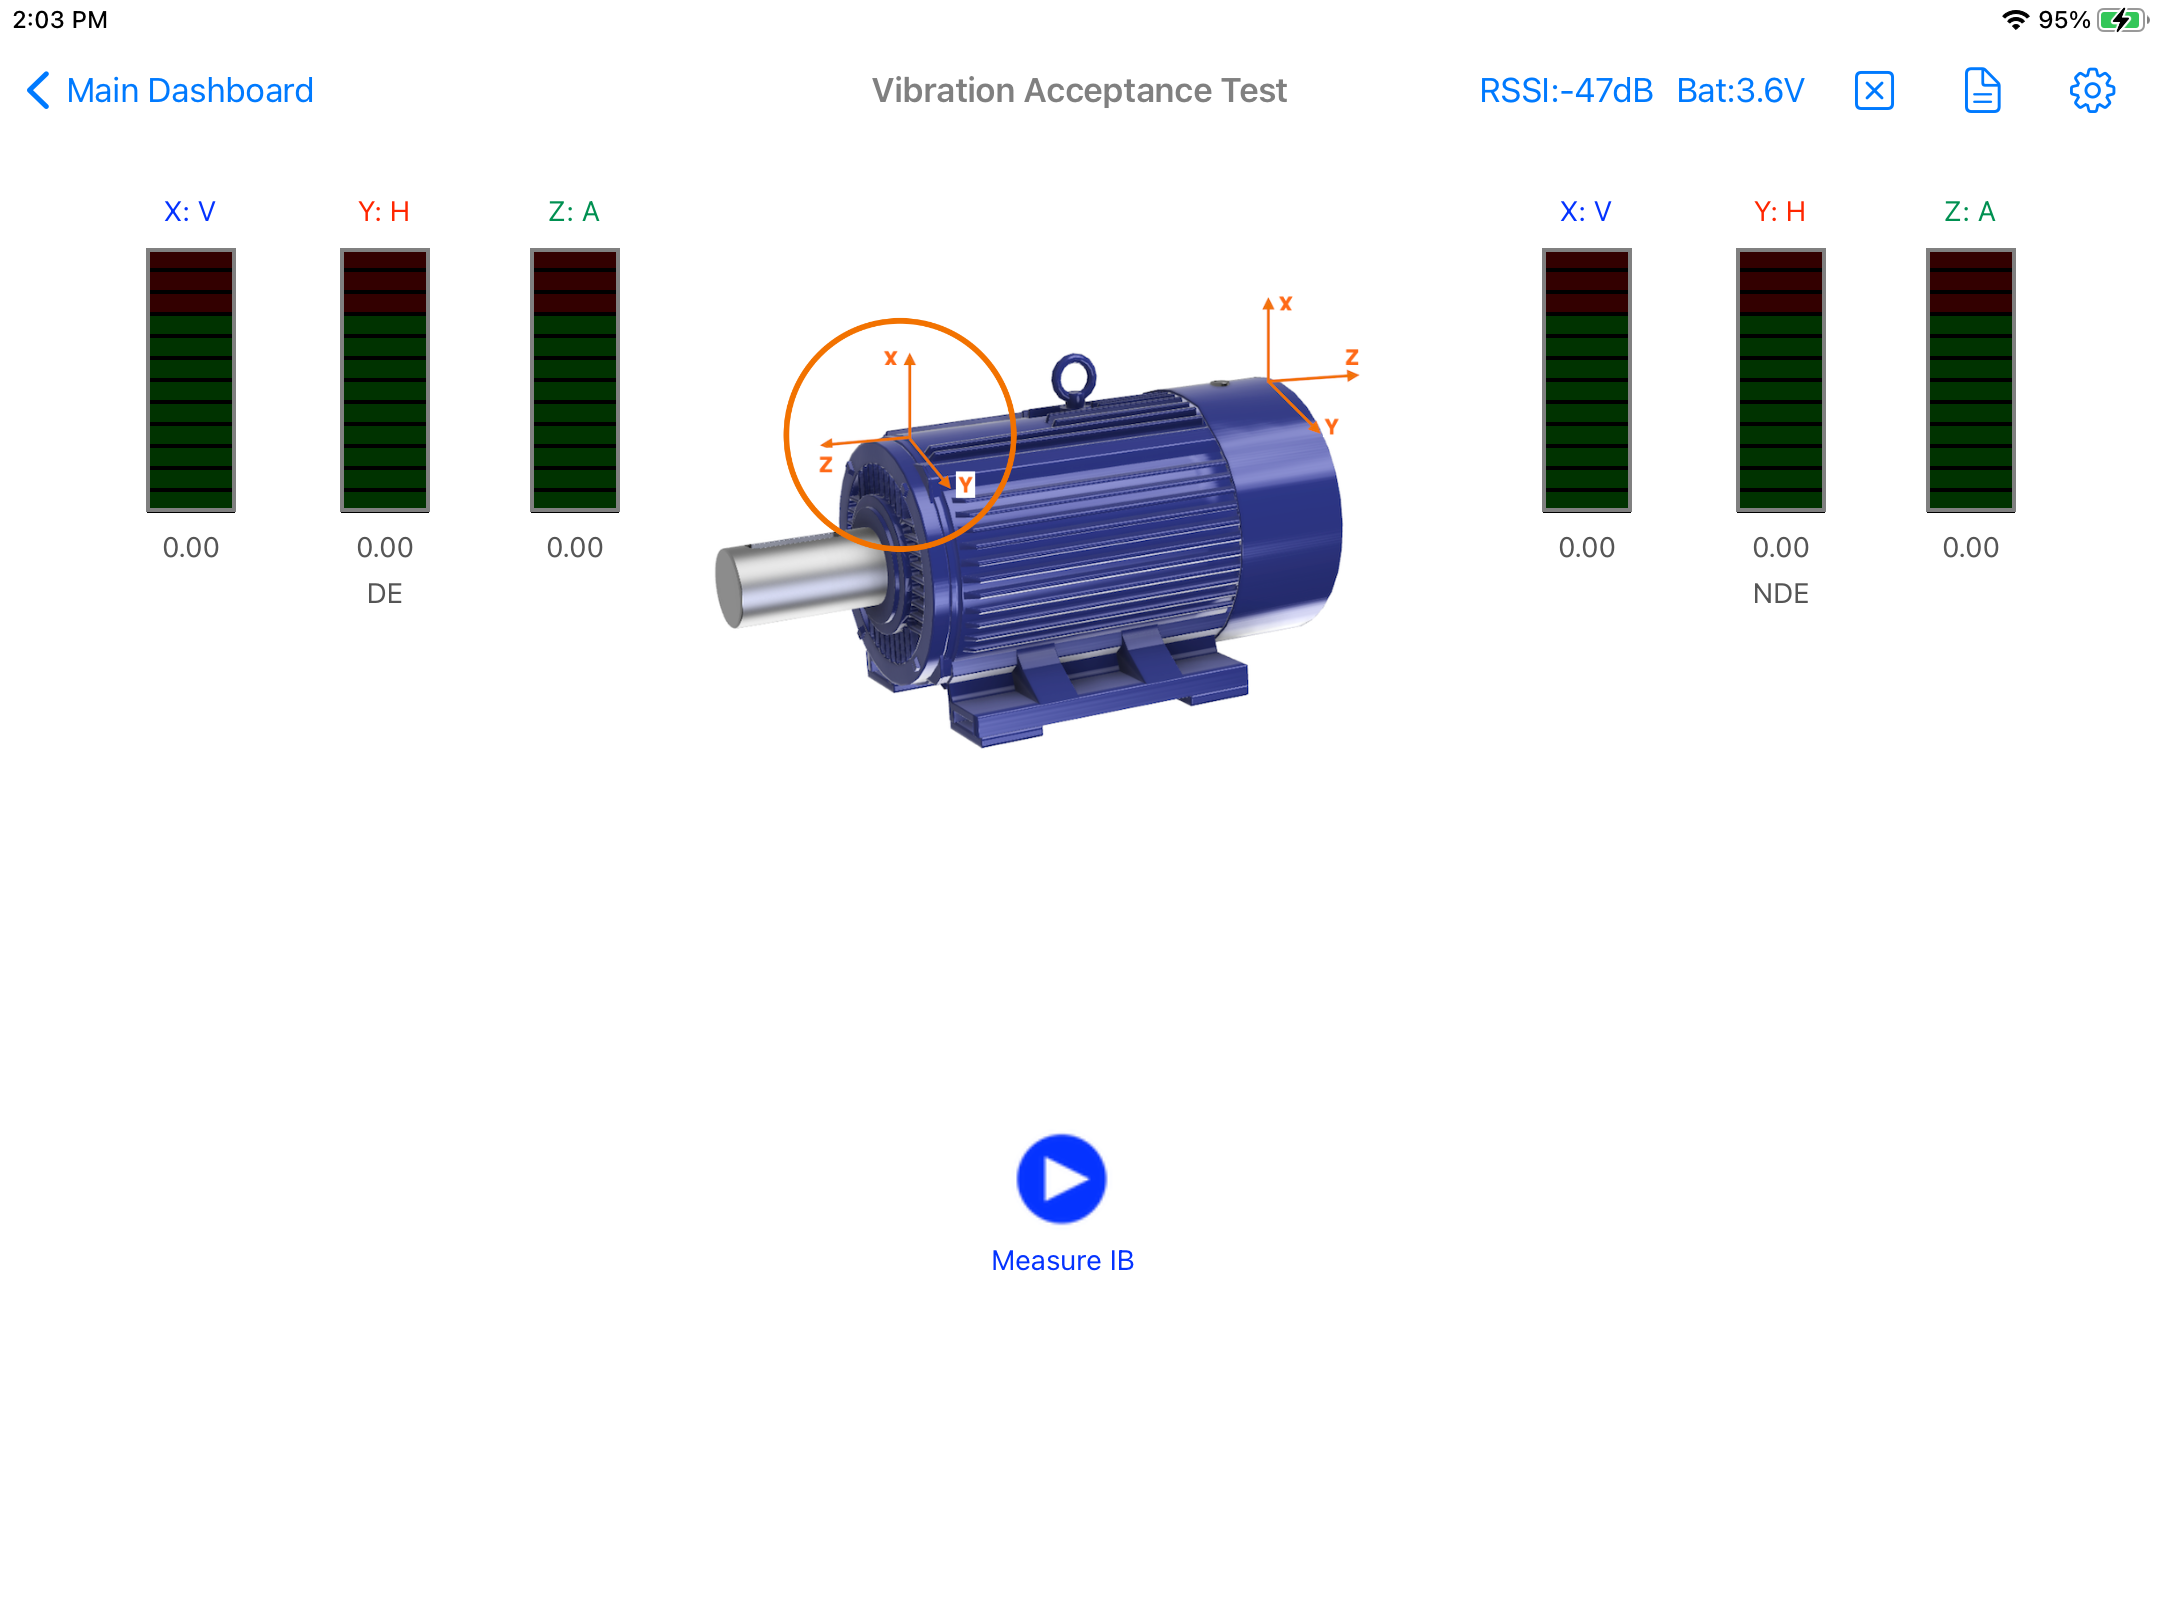
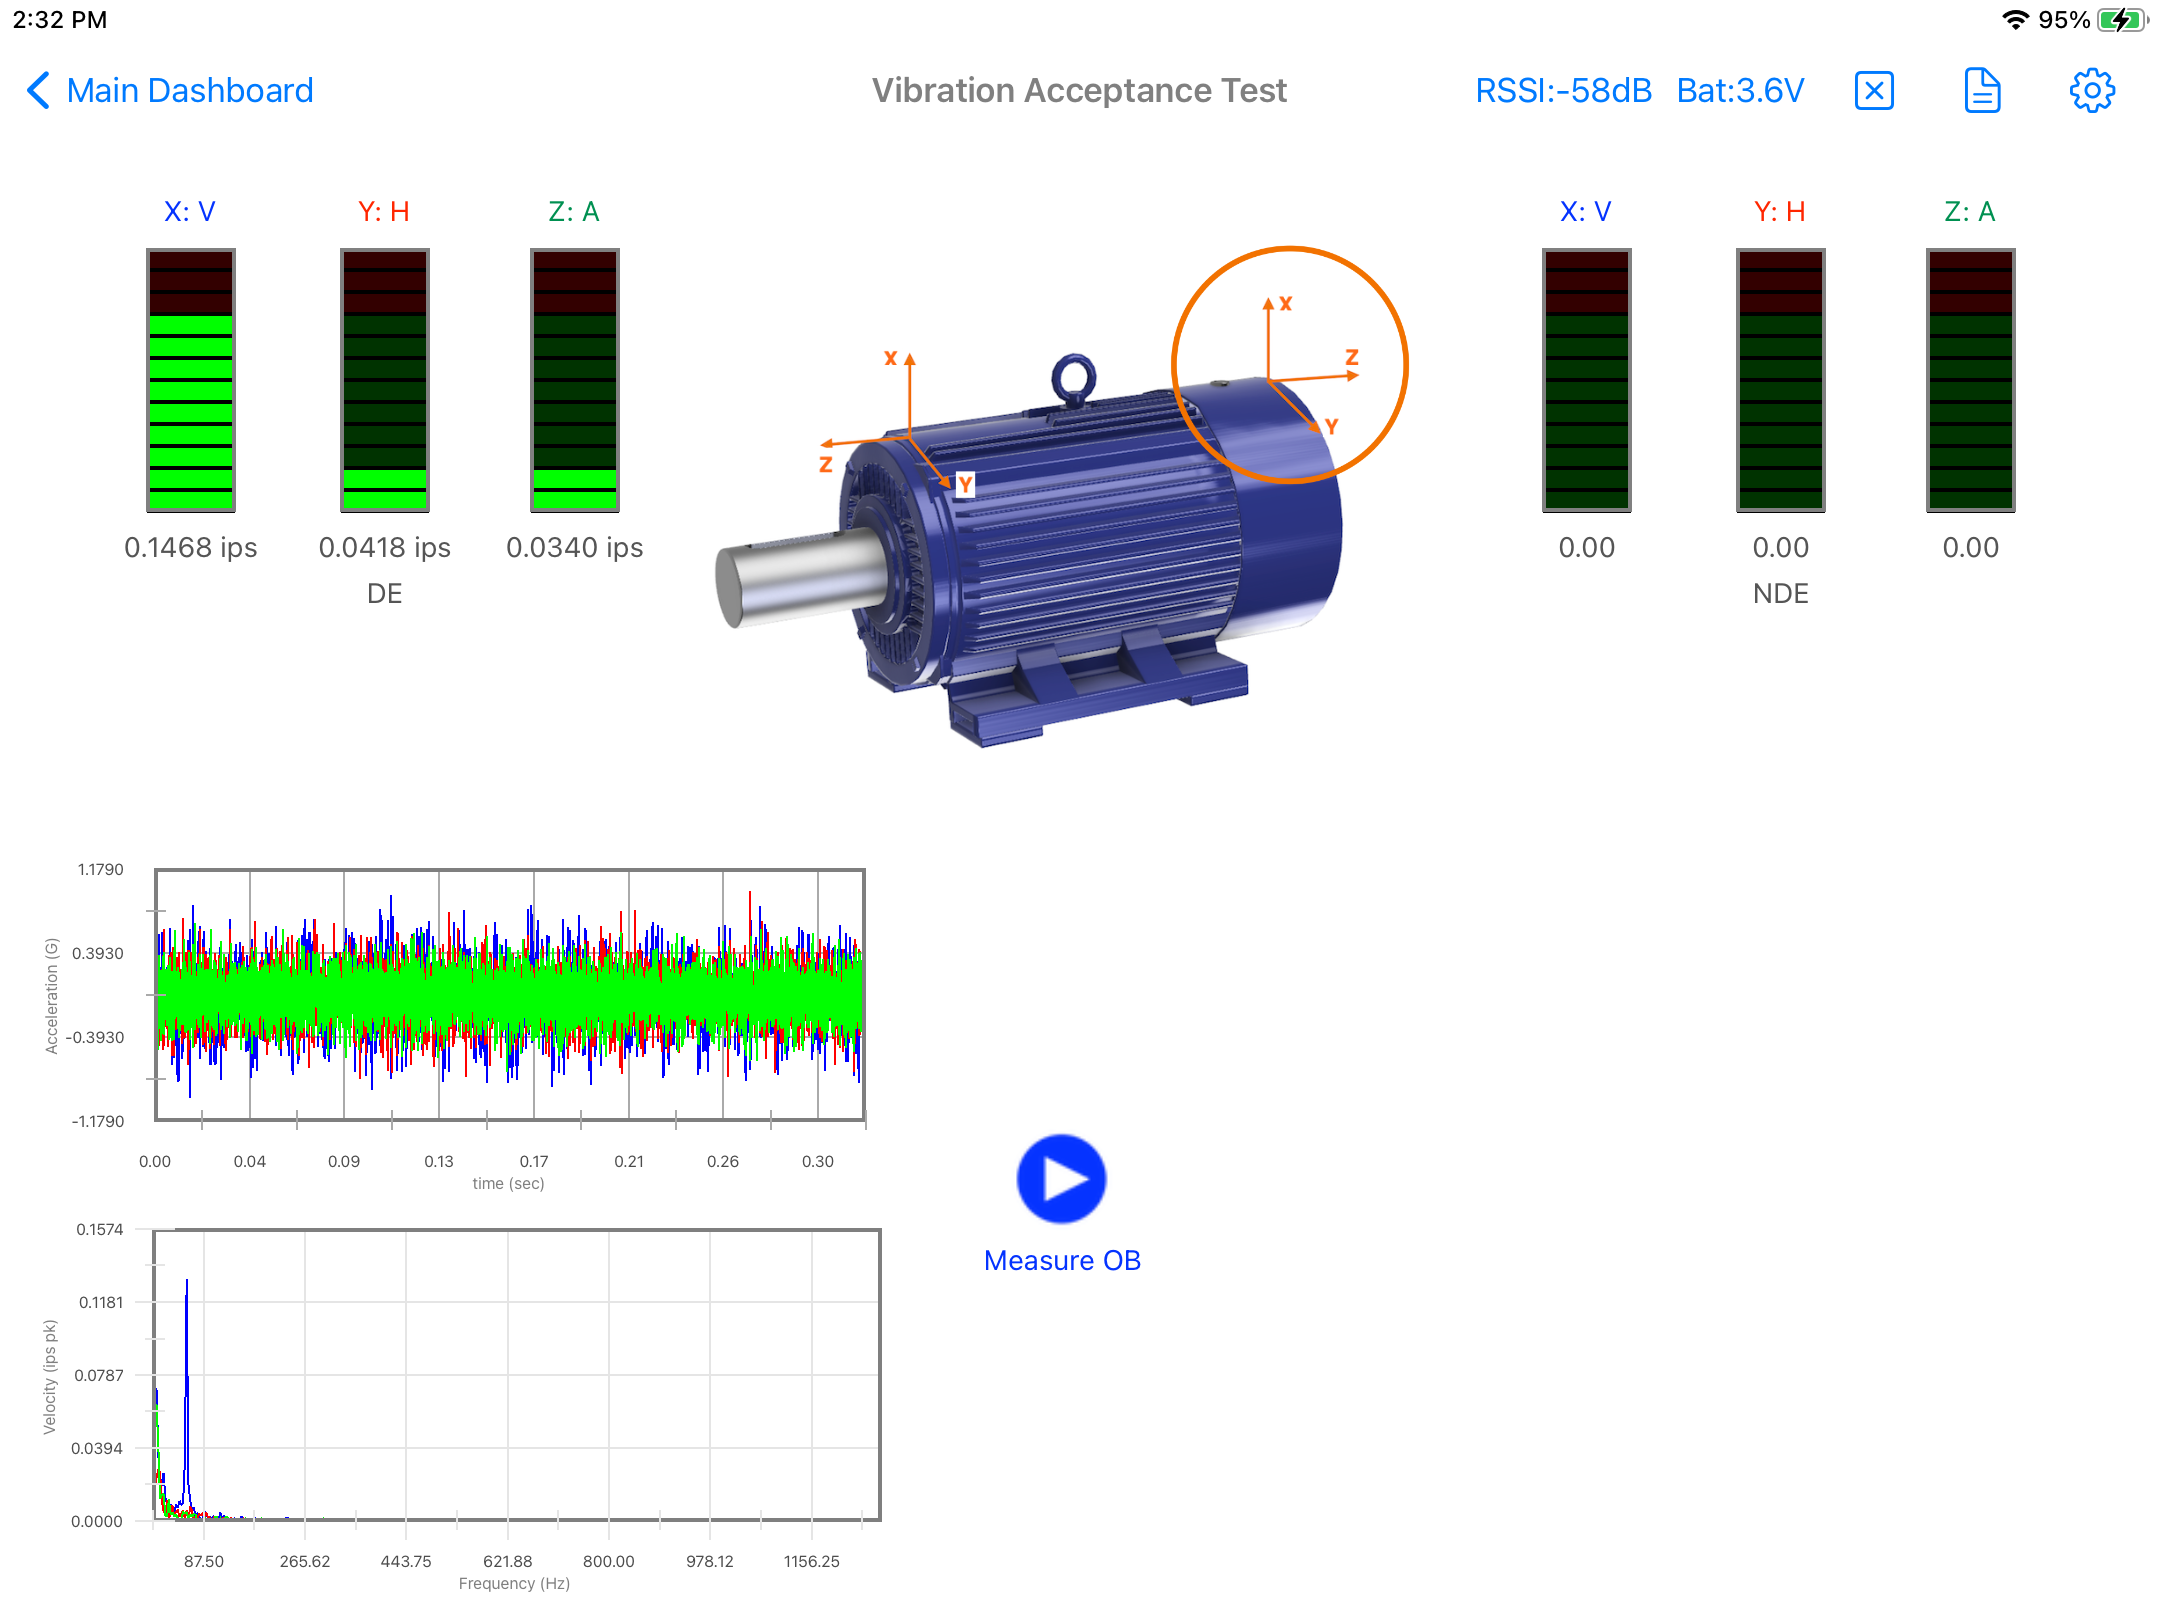
- Place the sensor on the DE (Drive End) position of the machine and tap on the start ▶︎ button. Place the sensor on the NDE (Non-Drive End) position and tap on ths start ▶︎ button again. Data will be collected and the system will decide what type of spectrum or overall values to use, based on the RPM. For this case (3600 RPM) the result data will be in velocity, as shown below; and the status of the test is passed. User can go back by pressing the "X" button on the top bar menu. A report can be generated now by pressing the "Report" button in the top bar menu. See Report for more details.
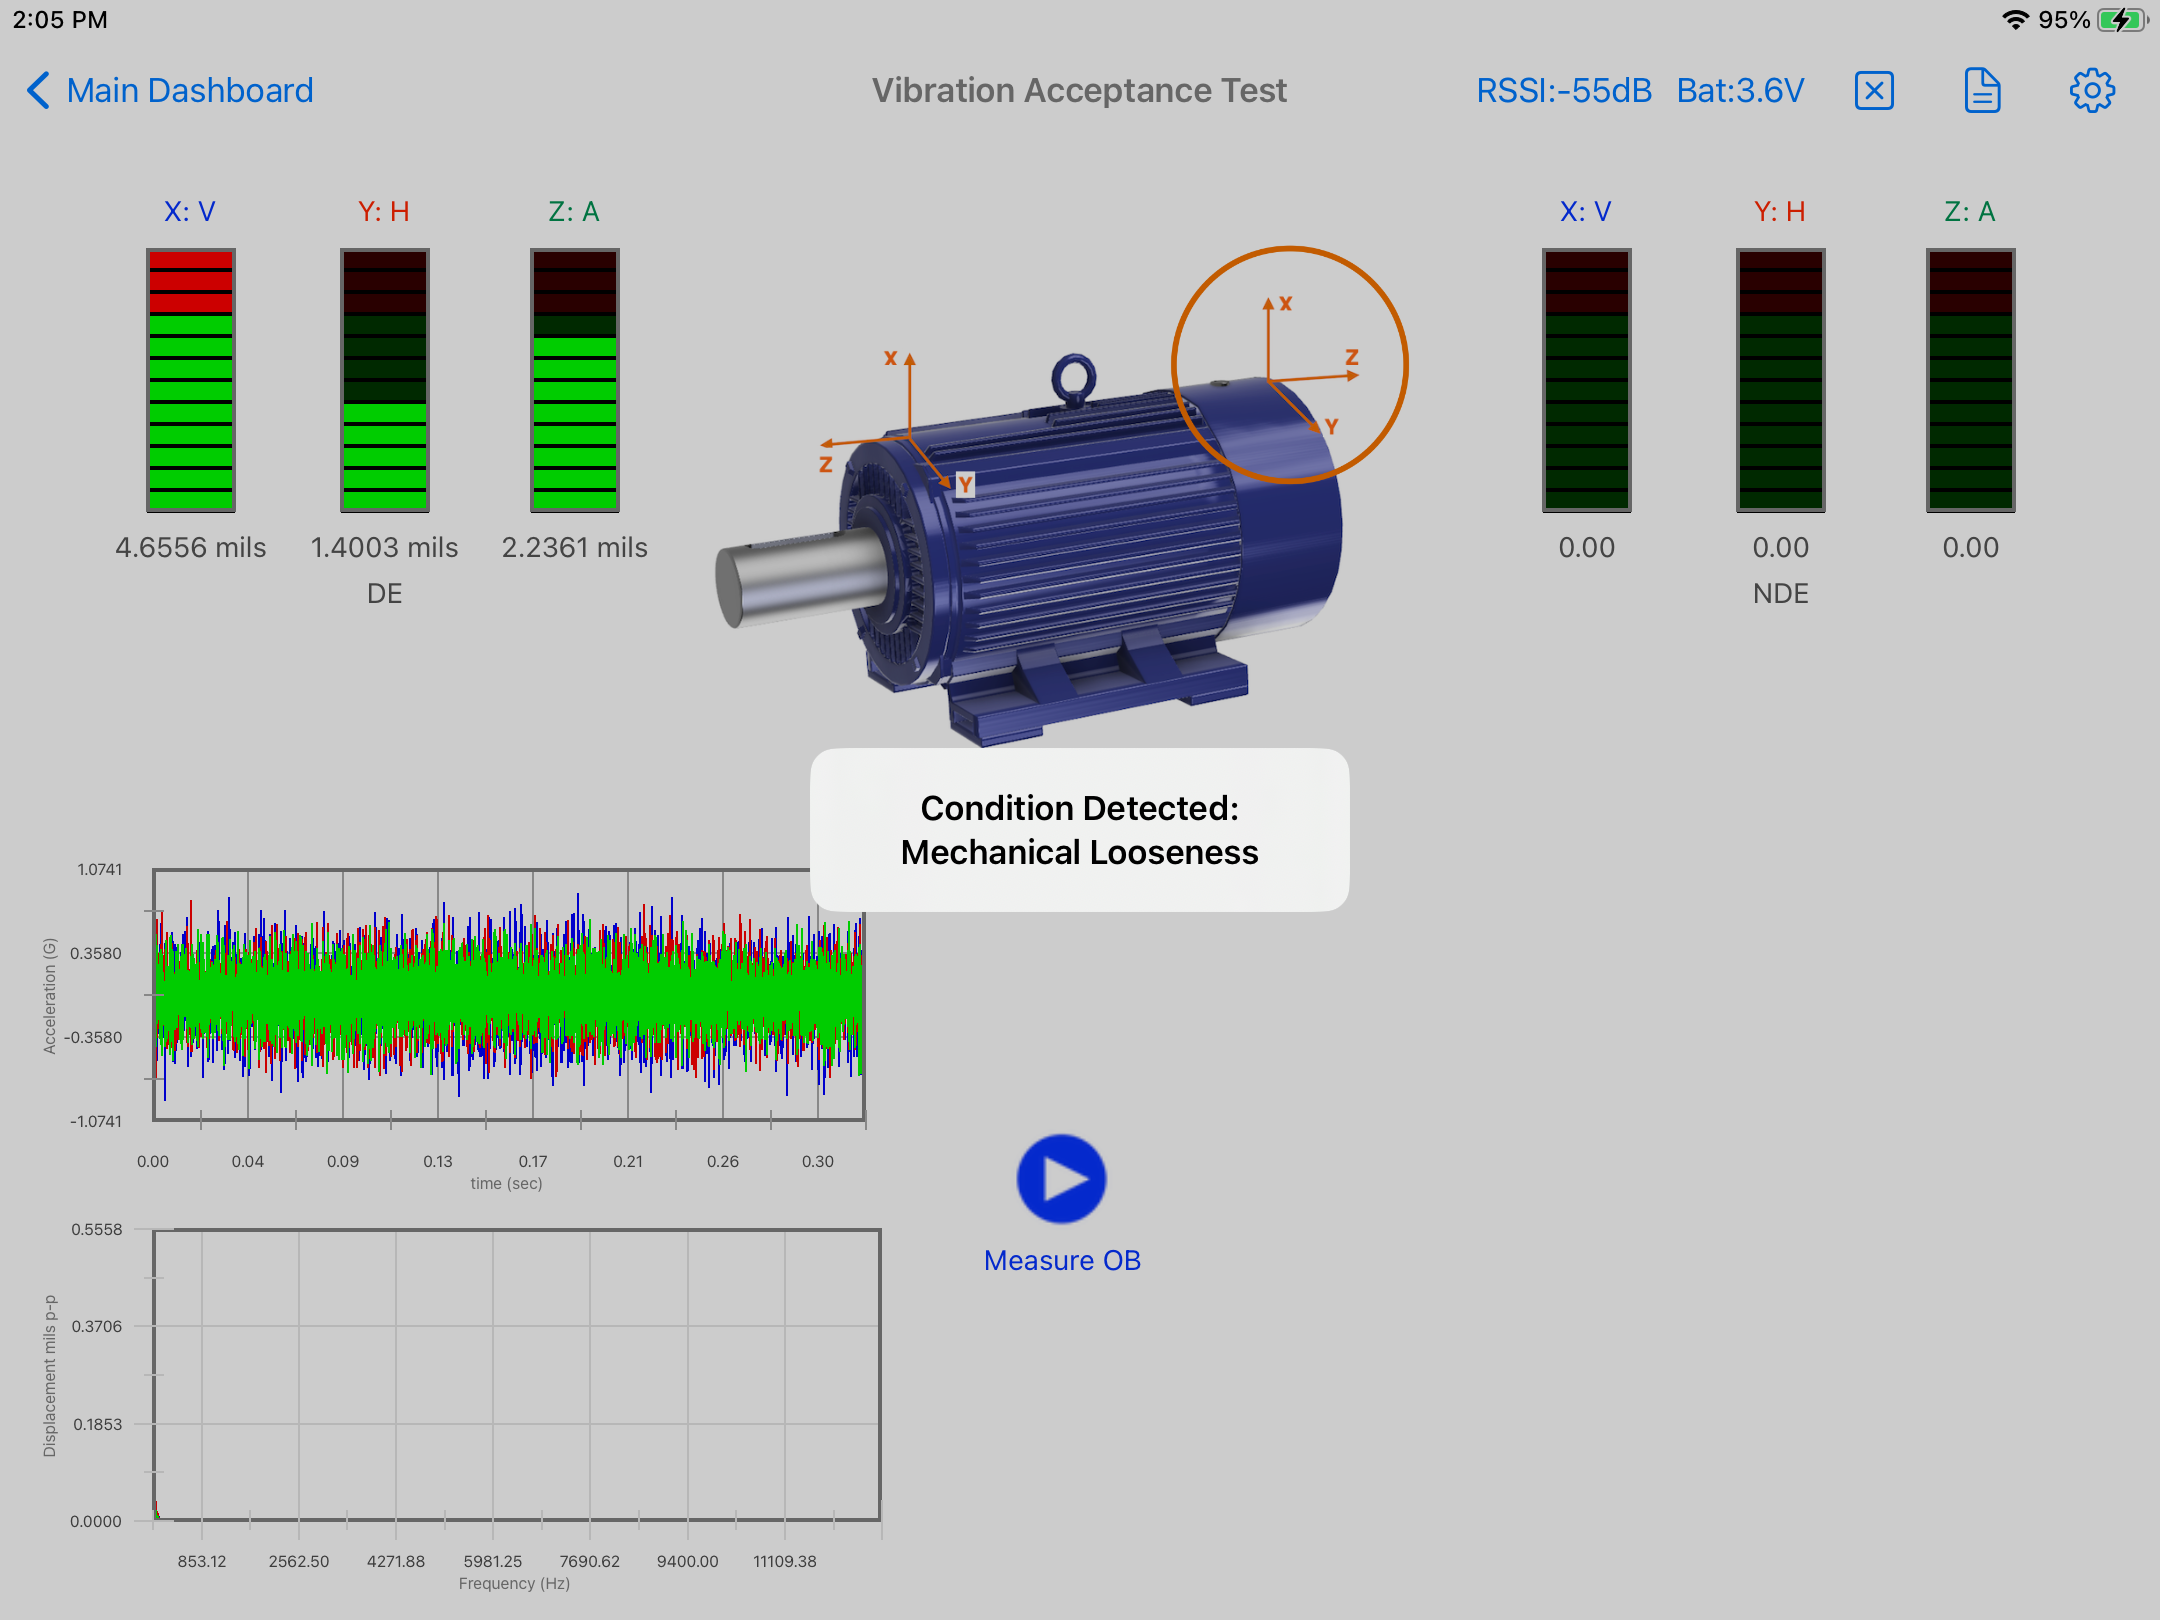
- To show another sample, the RPM was set to 300 RPM, spectrum and data is now in Displacement to comply with EASA/NEMA1. Also when a conditions is detected, such as imbalance, misalignment, etc the system will pop-up a message after each reading with the details of the condition (using vibEngine2 fault detection algorithms). In this specific sample the motor failed the test because the vibration amplitude on the DE Vertical axis was above the threshold.
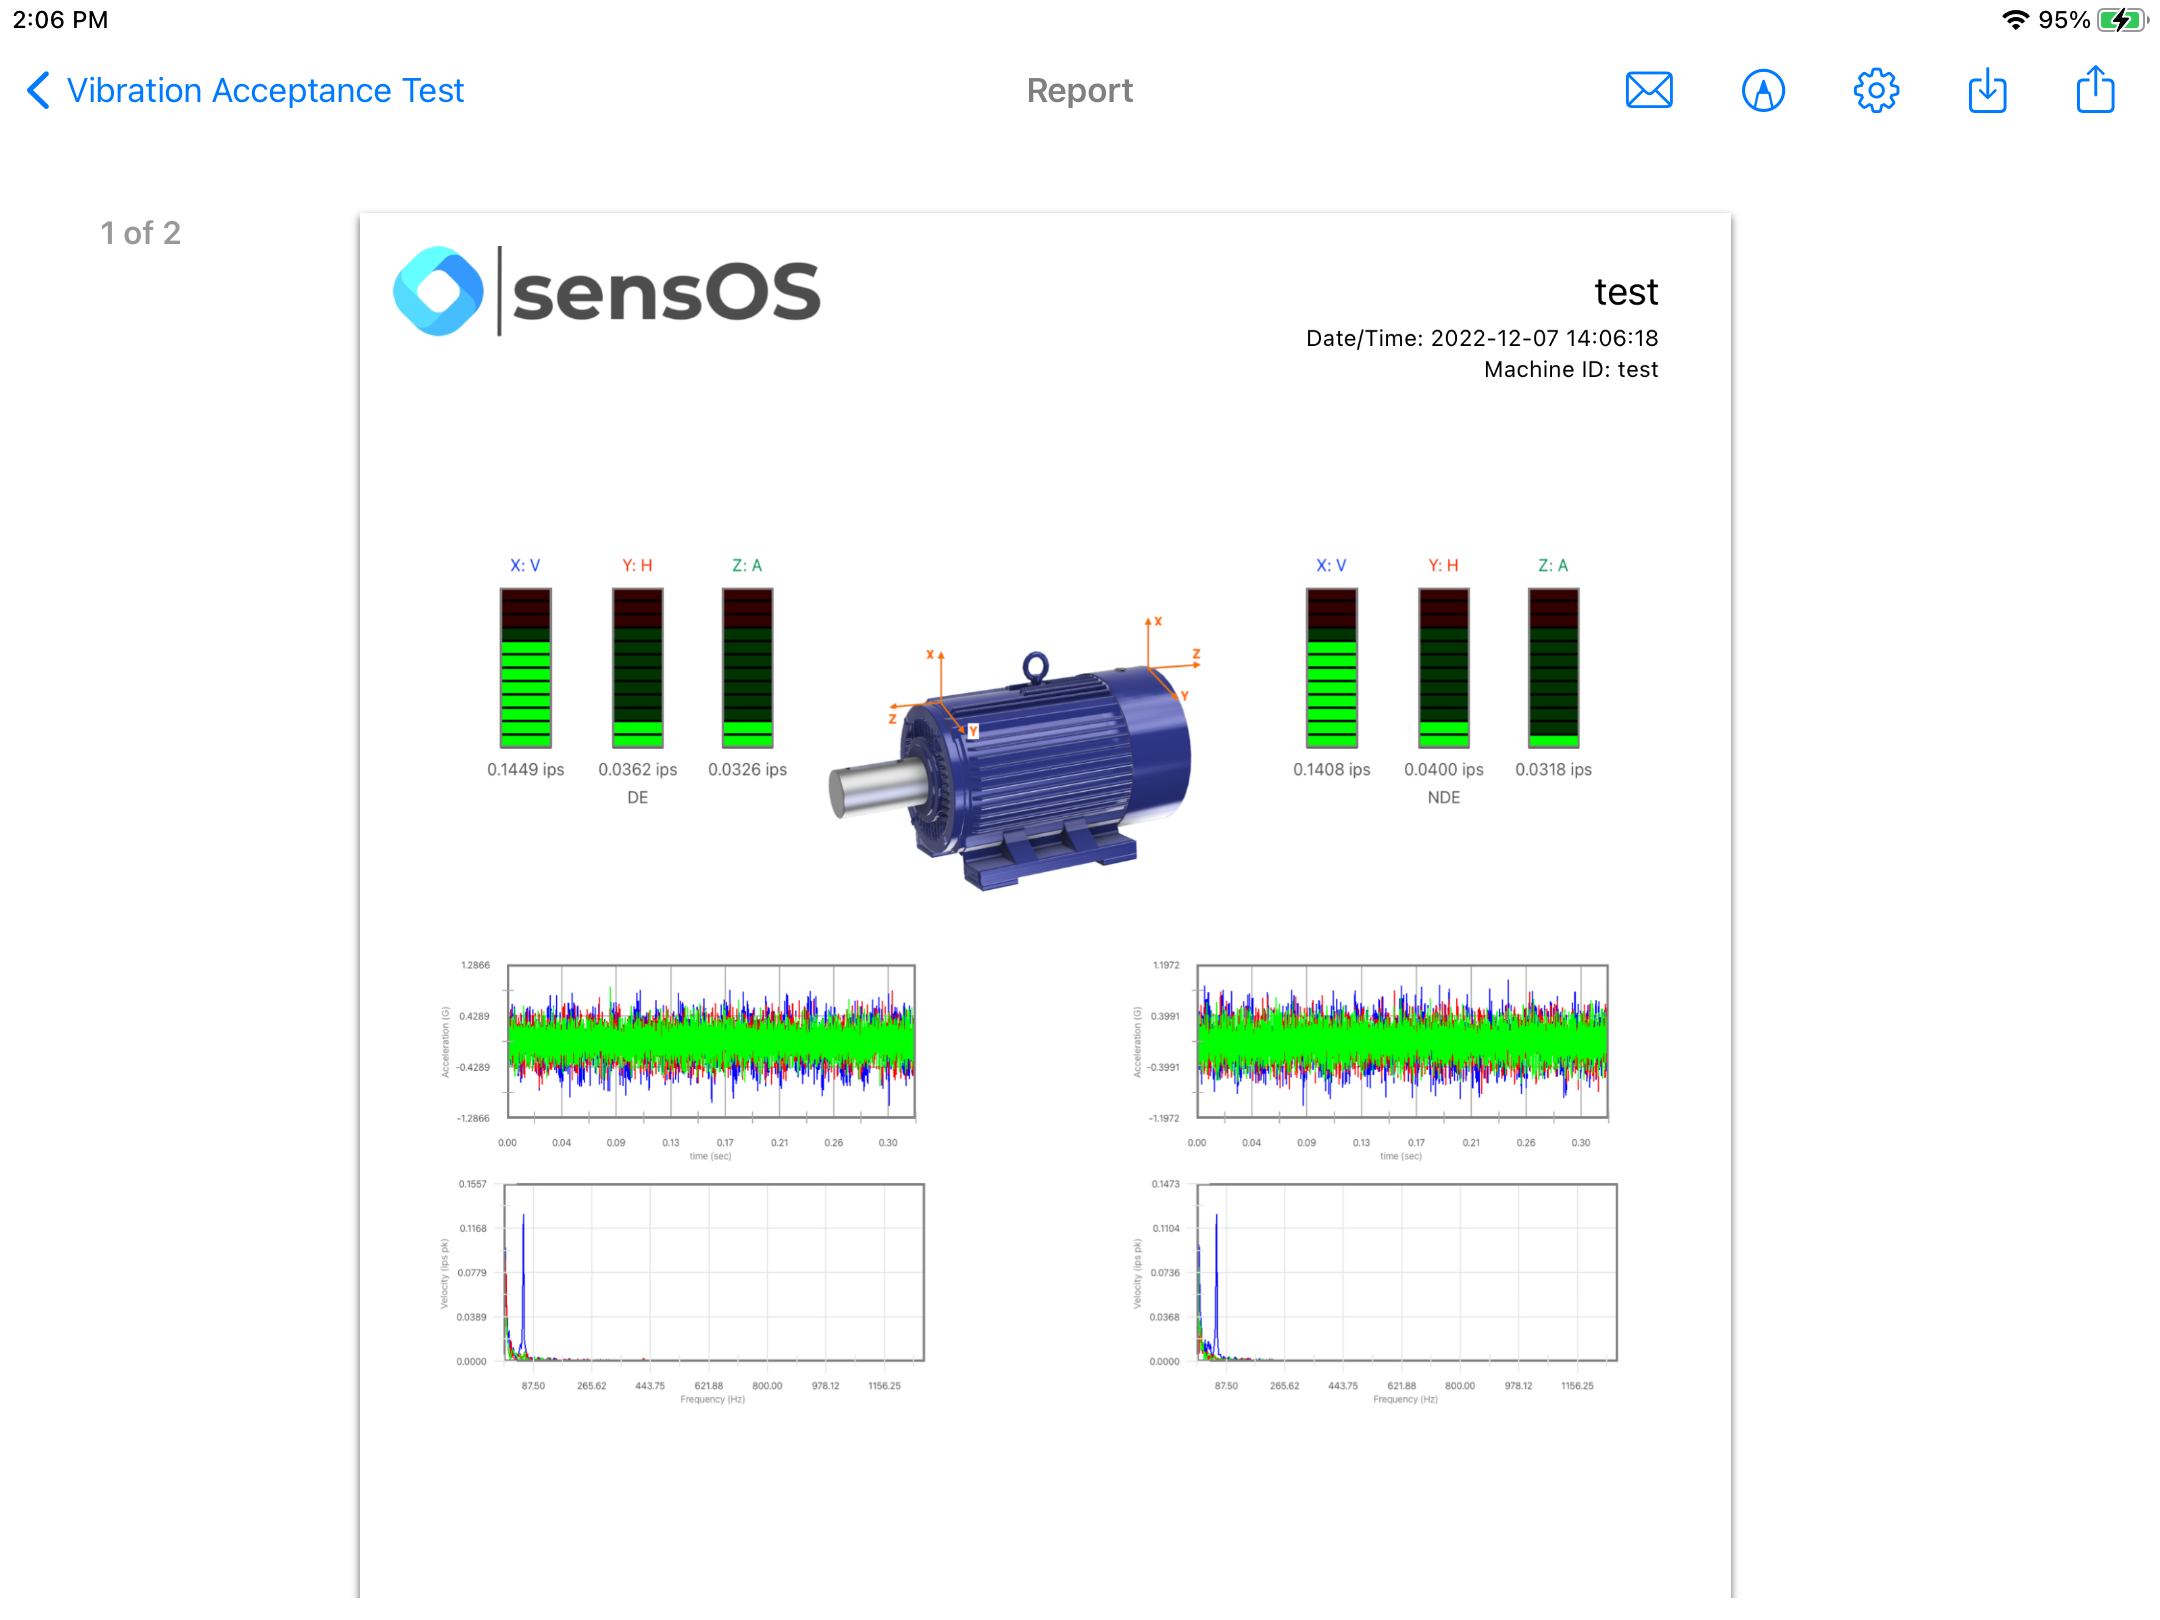
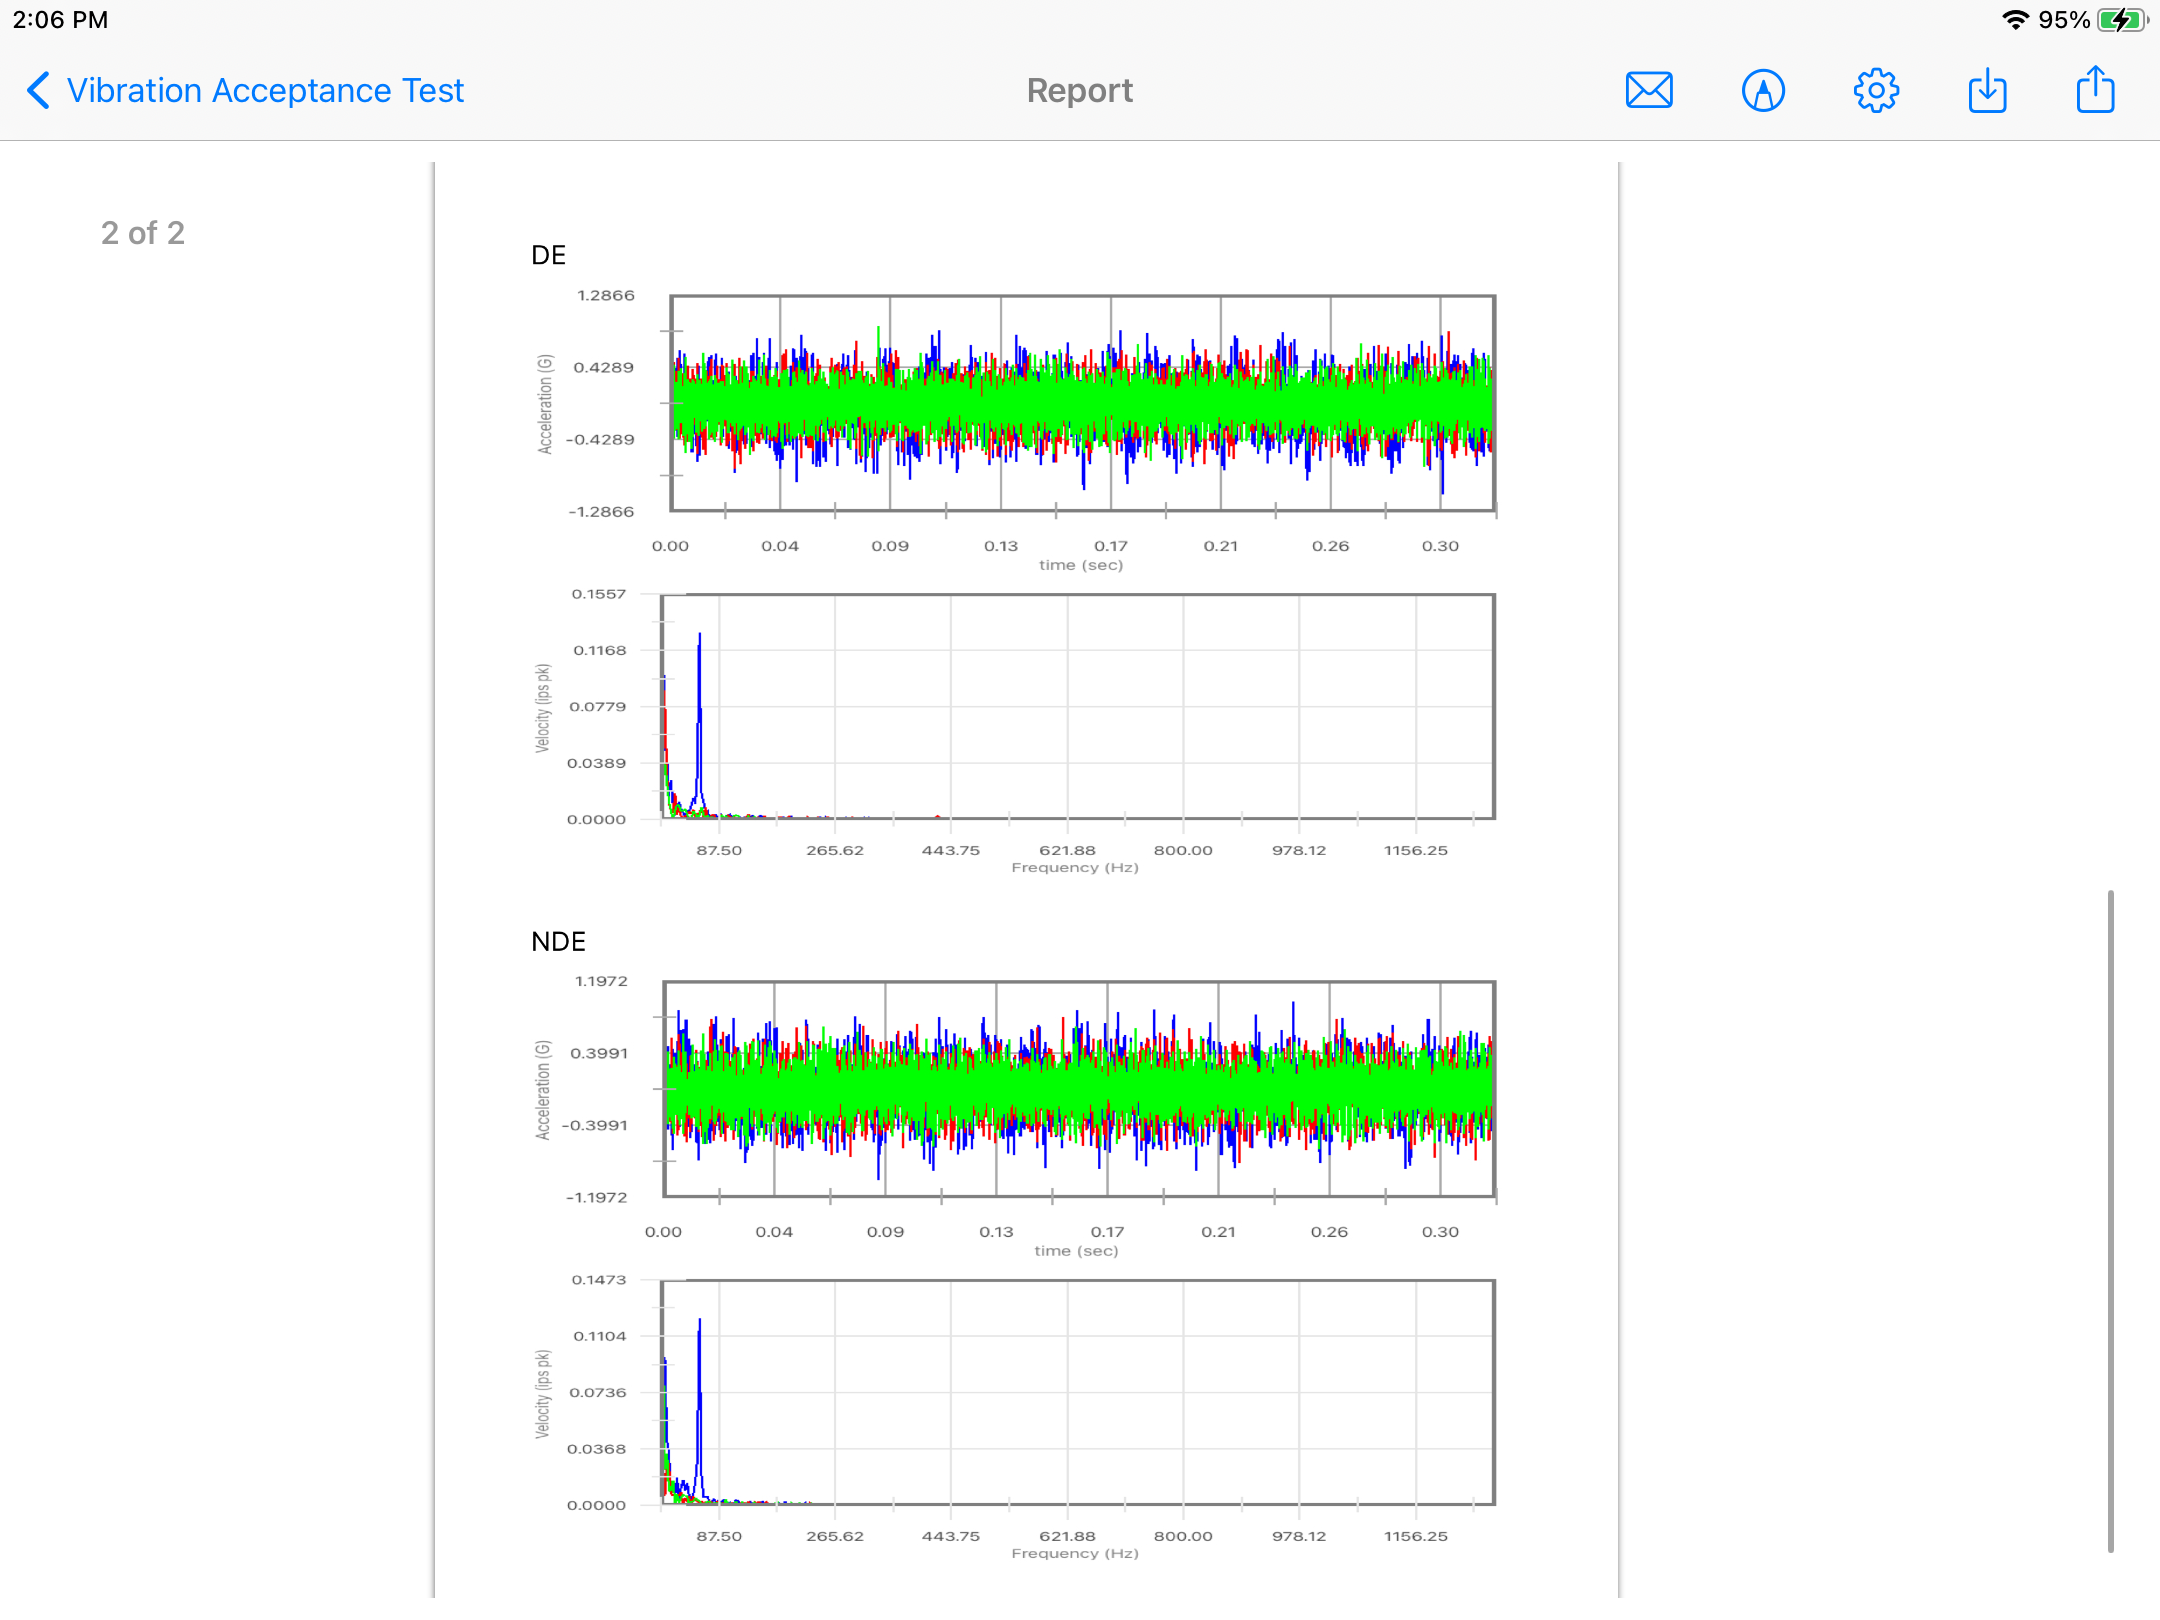
- A full report can be generated by pressing the report button on the top bar menu. The report will display a first page with the summary of the machine, level meters, time-waveform and spectrum and a second page with a detail of each plot (TWF and spectrum for each point). See Report for more details.
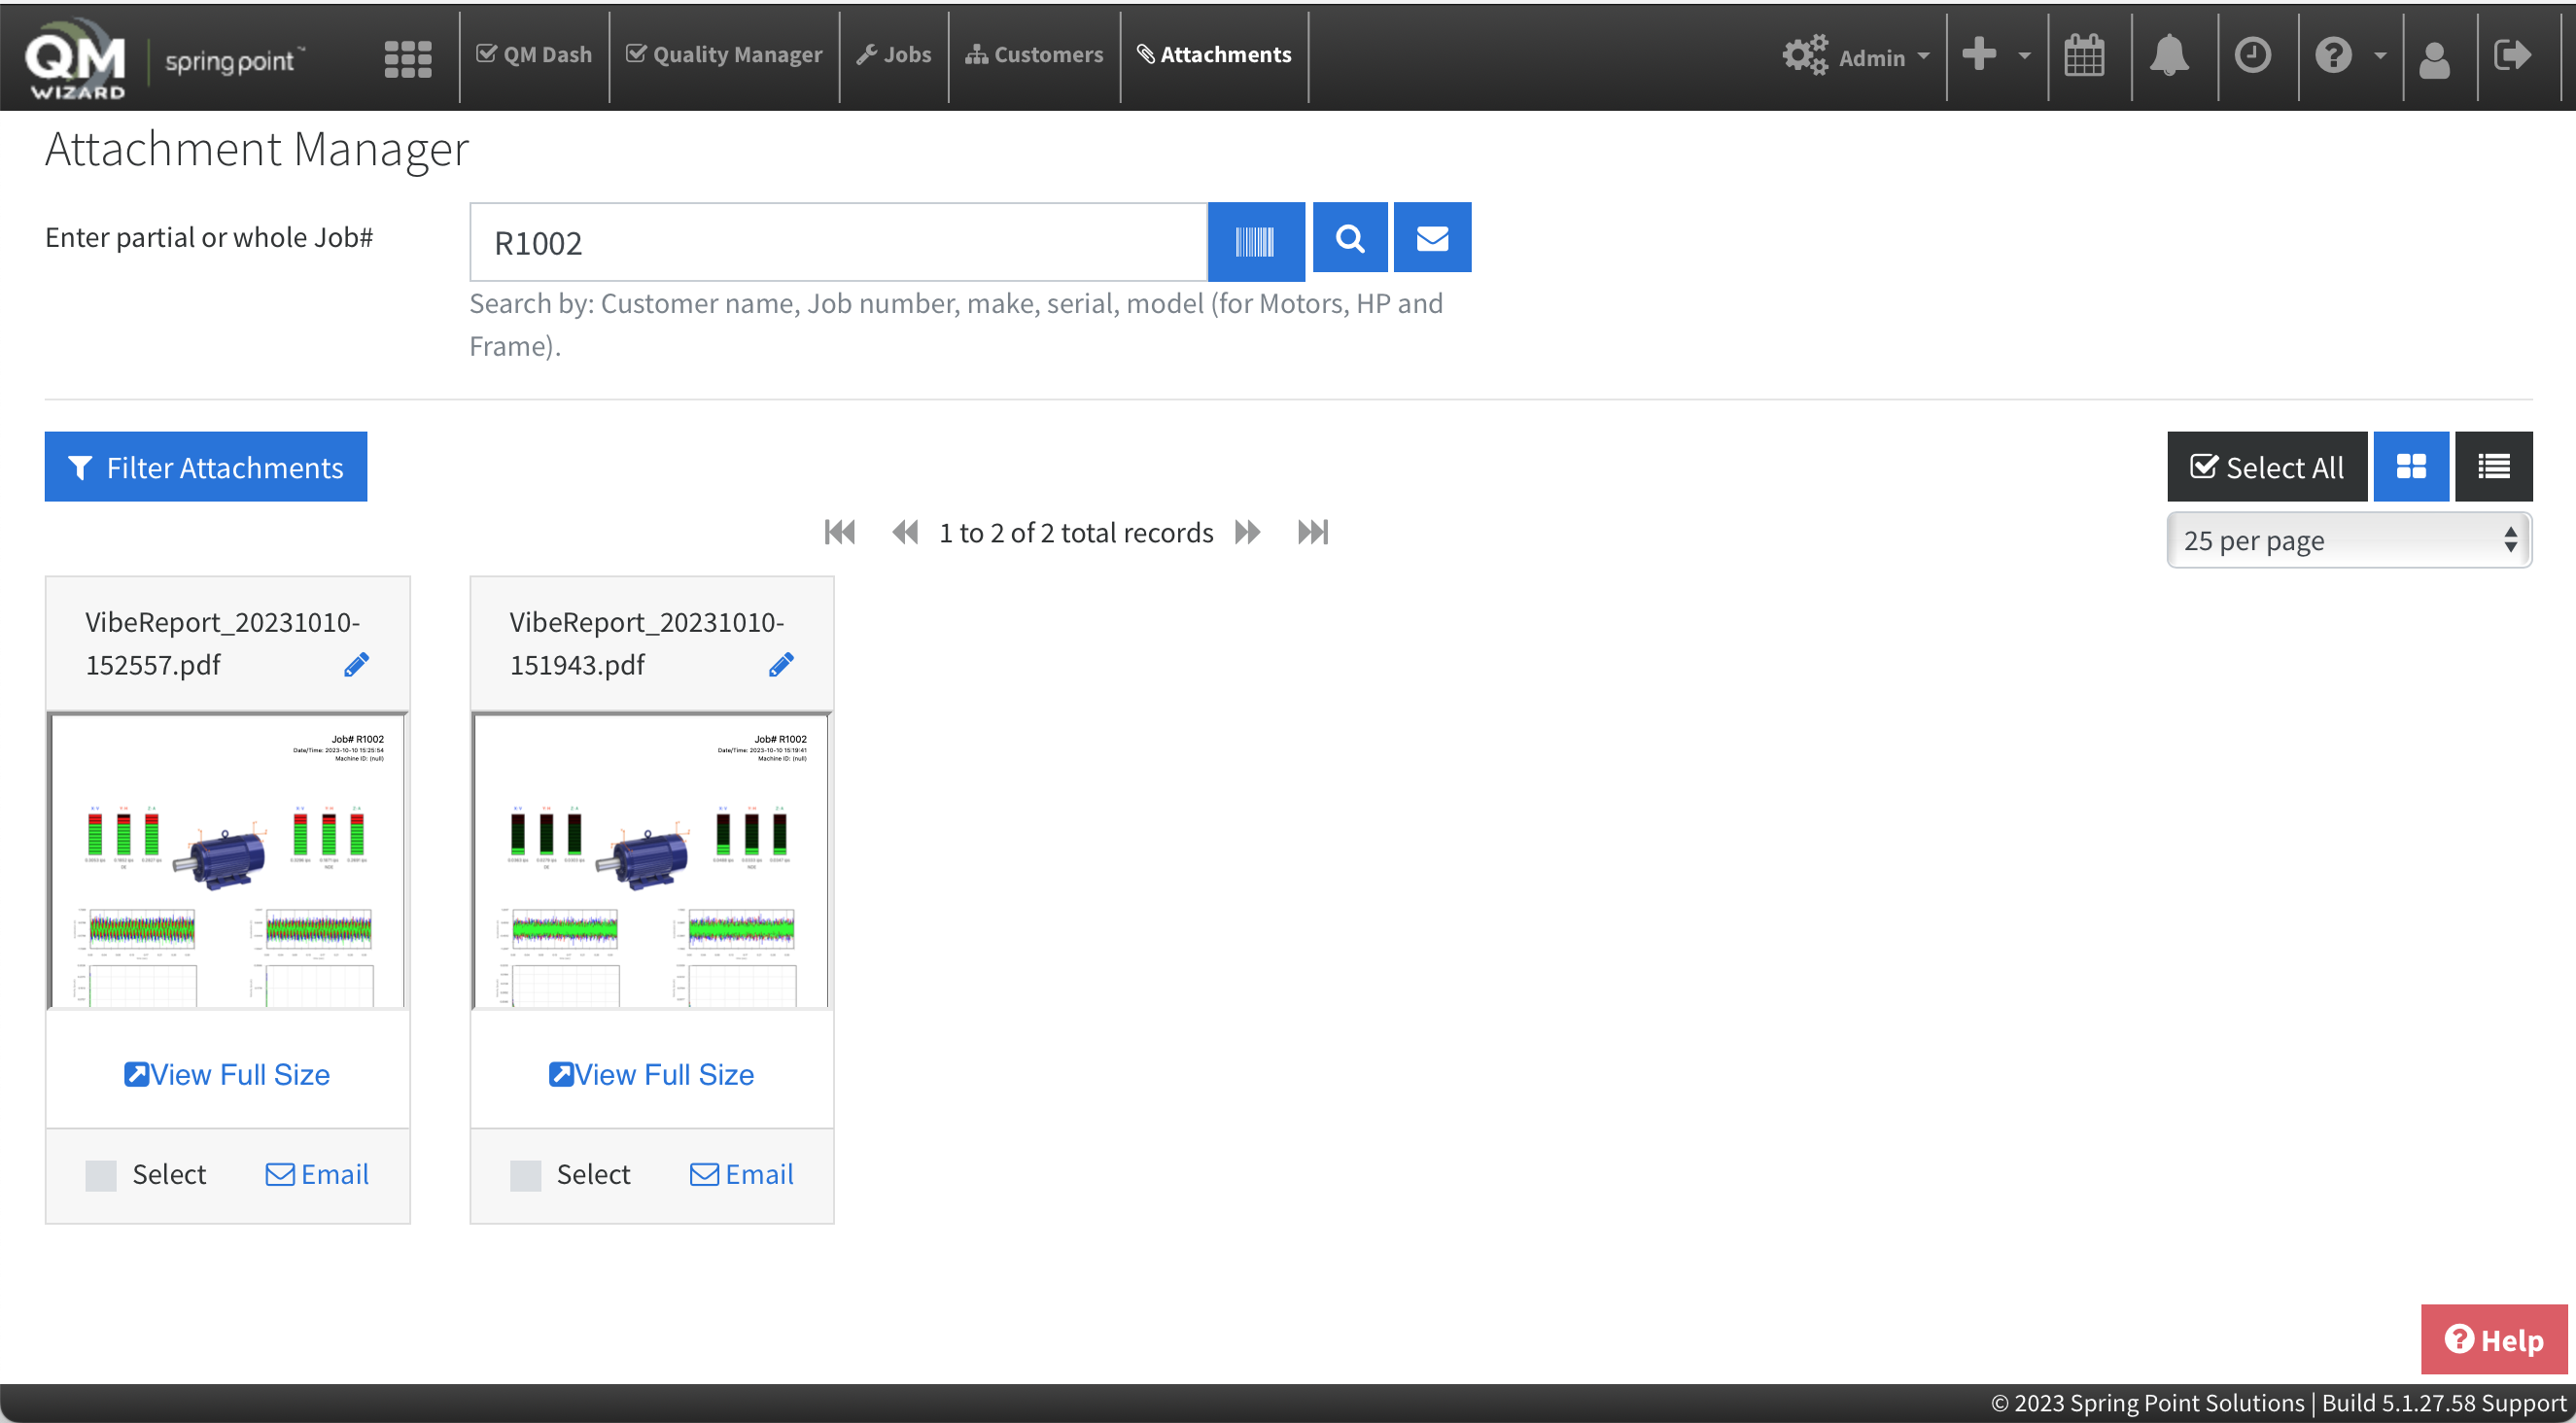
- By pressing the upload button in the top menu bar, the report will be uplaoded directly to the selected job in the SPS platform.
- The user can now log-in to the SPS platform in any computer, access the job and retrieve/view the saved report.
Report
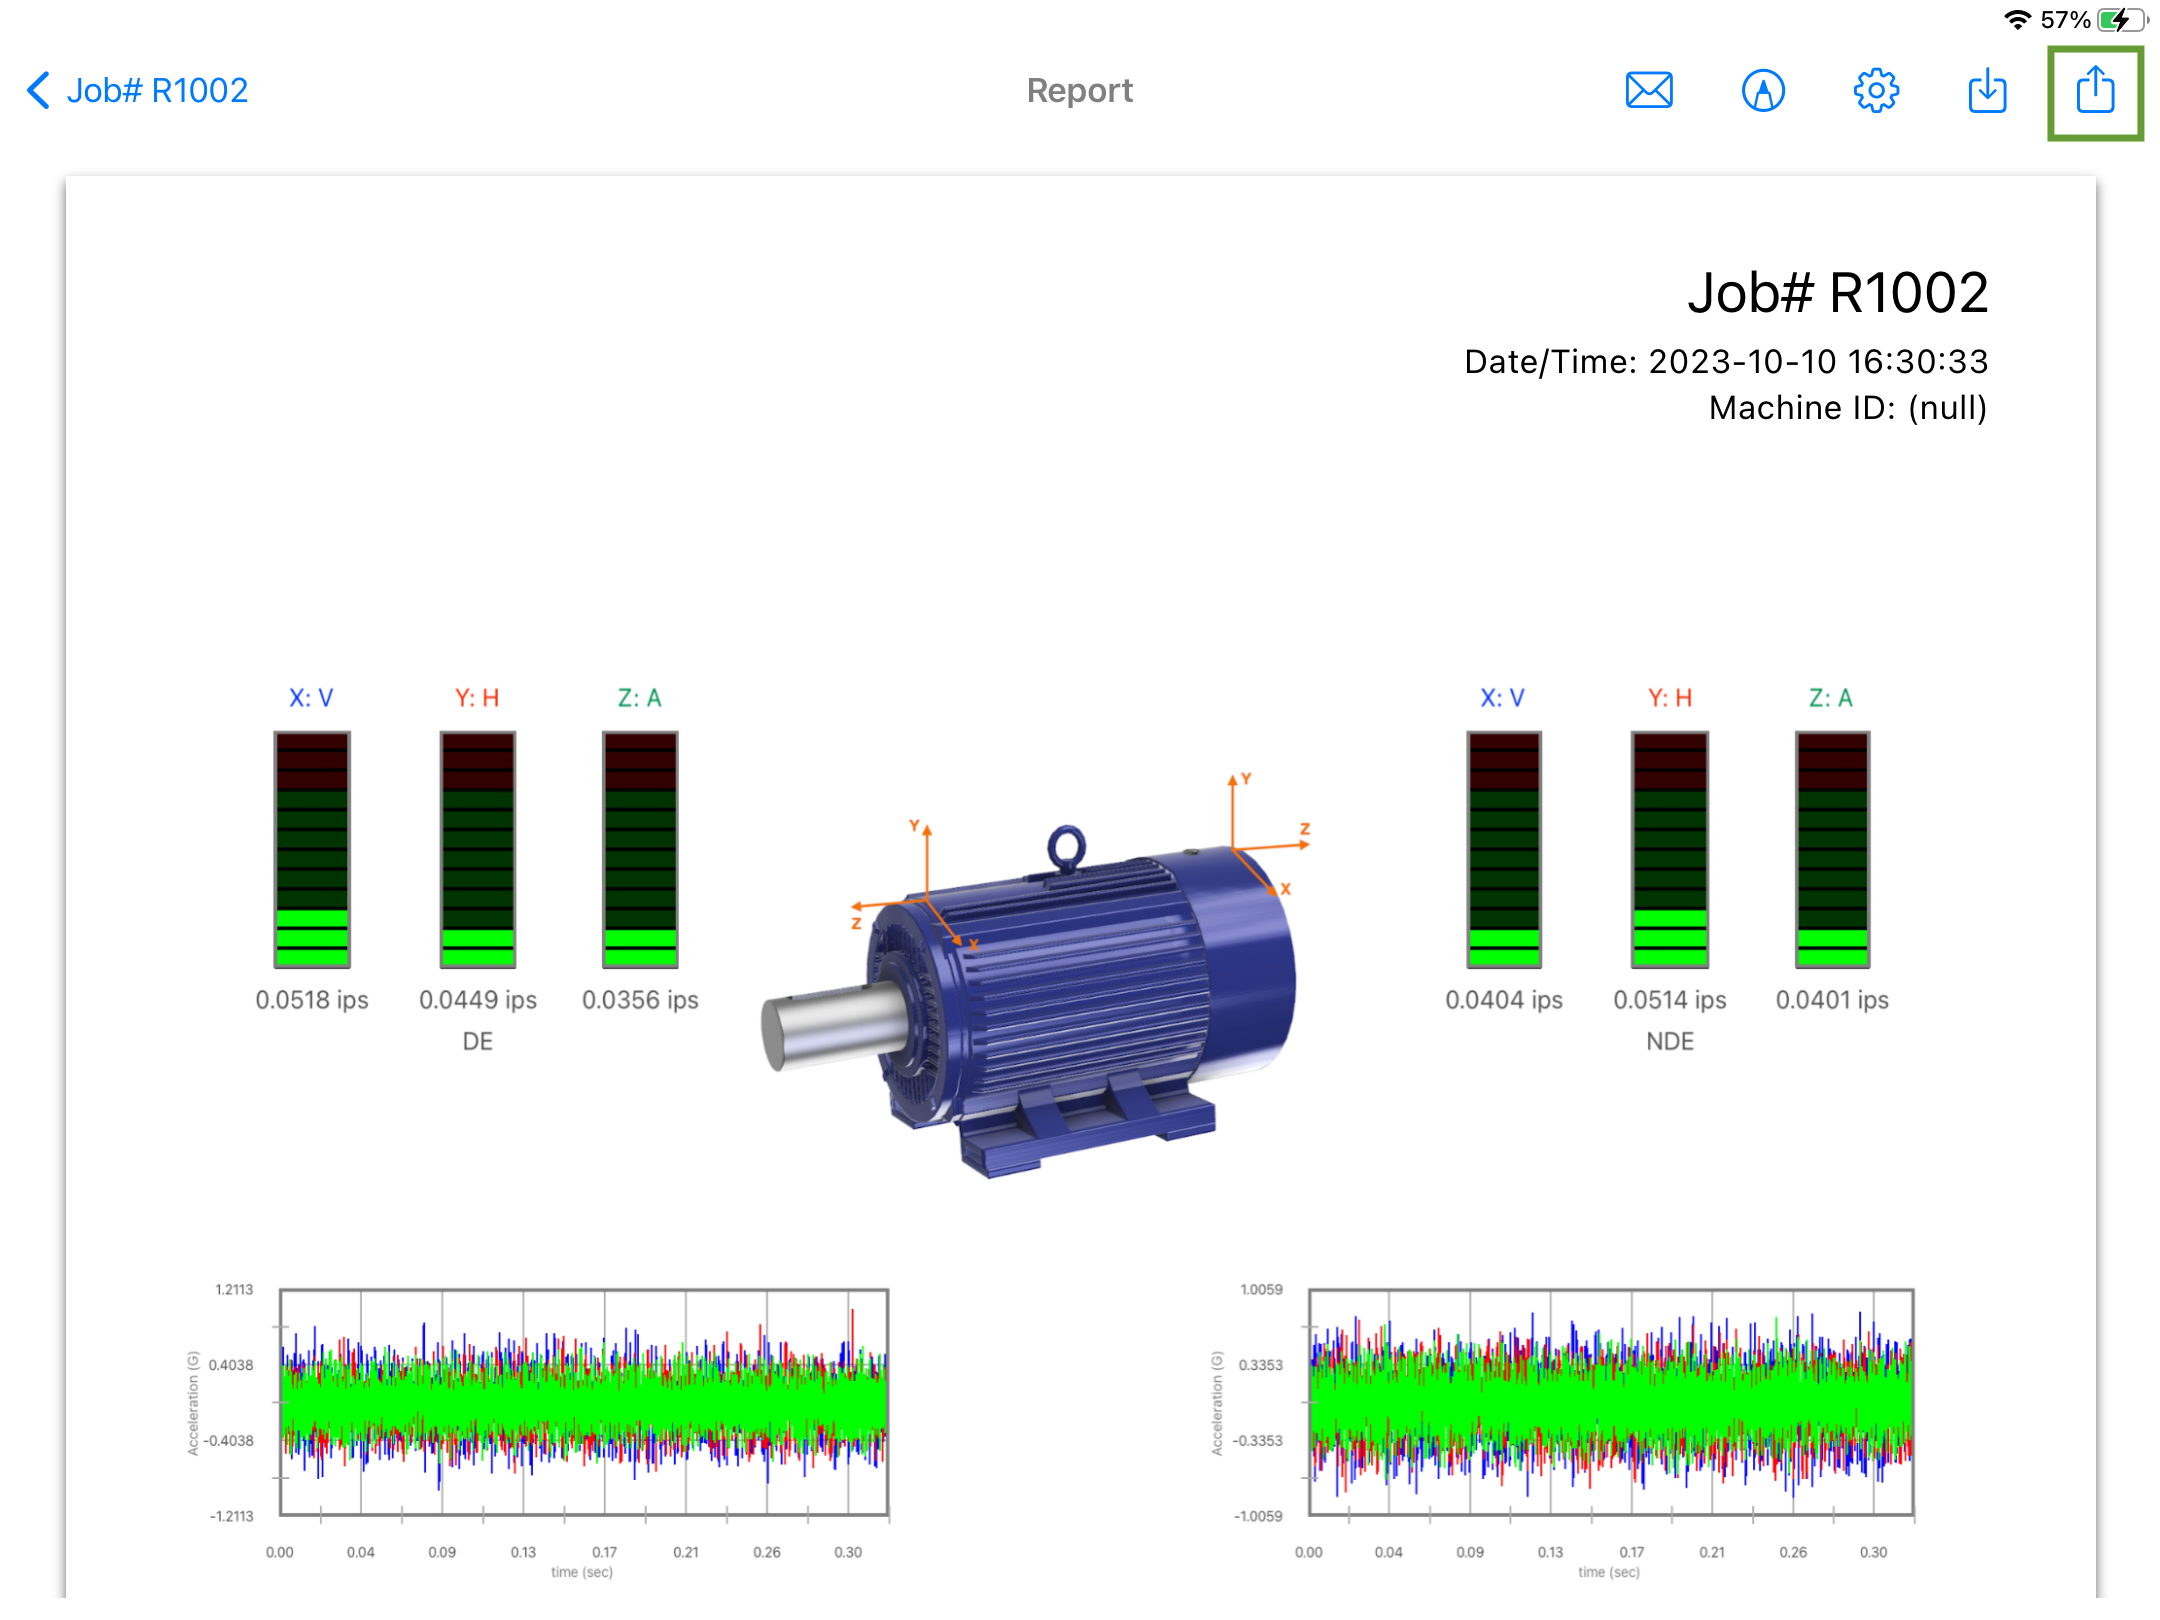
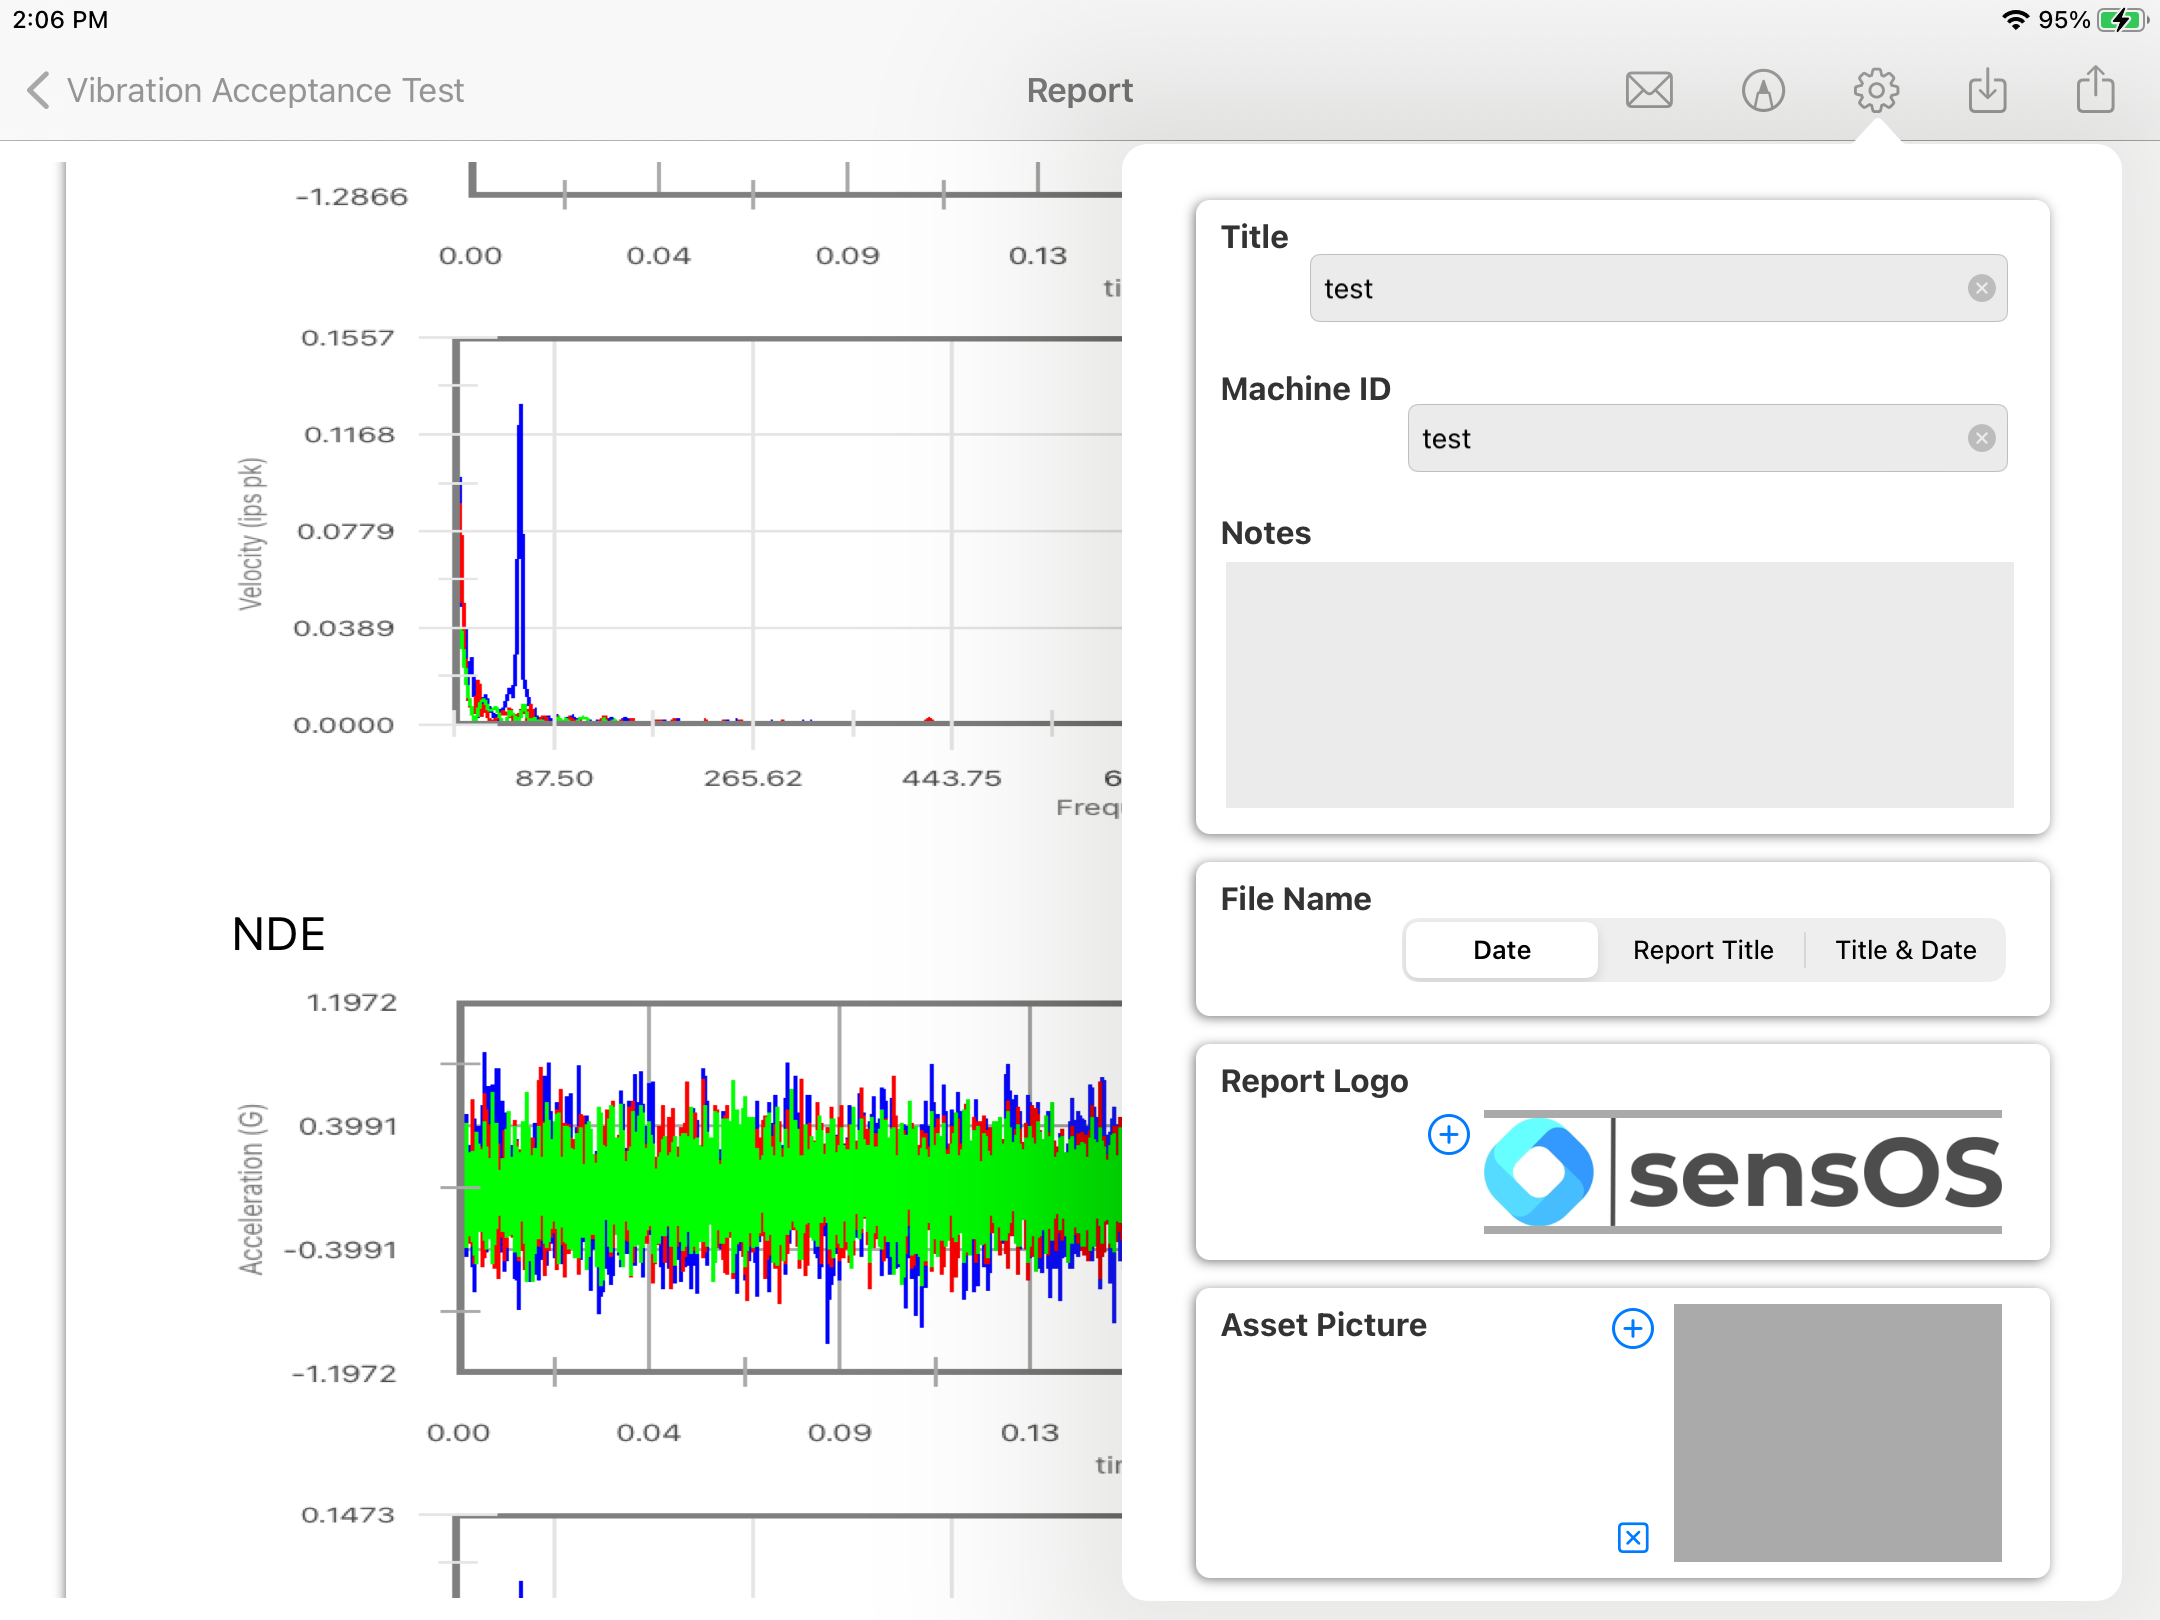
- The report view contains several options in the top bar menu: 1:Send by Email, 2:Markup, 3:Configuration, 4:Save Report locally in the device, and 5:Upload Report to SPS
- The markup tool allows the user to copy the report to the clipboard, send it by Airdrop or any other messaging app, email it, print it or saved it to Files. The markup tool will open the standard tool to paint on the pdf report.
- The Report Configuration pop-up allows the user to enter the Report Title, Machine ID and Notes to be added to the report. Here the user can also select a logo for the report. The report file name be default is the actual dat and time, but the user can change it to the title name of the report or to both, the title name and date.
Technical References
- ANSI/NEMA MG 1-2021 Motors and Generators
- vibEngine© framework (module: nema_mg1_allowableVibrationWithRpm)
Changelog
See what's new added, changed, fixed, improved or updated in the latest versions.
Version 1.21 b.35 (10 Oct, 2023)
- New Integration with SPS
Version 1.15 b.29 (22 Nov, 2022)
- Optimized Optimized for iPadOS®16
Version 1.01 b.06 (06 Oct, 2021)
Initial Release
